
I love art projects…and I like to think outside the box and have the kids make KEEPSAKES, not toss-away art. I usually try to do a big fancy project every year to give to the parents for Christmas. This year- we made a snowman painting!
It took us almost a week from start to finish and was a very involved project, but super easy to do and the kids loved watching their masterpiece develop with each step.
Here goes:
PHASE 1: The background.
Get out the blue and purple paint and have the kidlets cover a whole sheet of paper with paint. This will become the background. Although our finished product was only 9″ x 9″, I had them paint a full 11×13 piece of paper. Even then they missed some spots! This was a messy project, too! I used Finger Paint paper just because that was what I had available.

We let those super thick masterpieces dry for a couple days before beginning Phase 2.
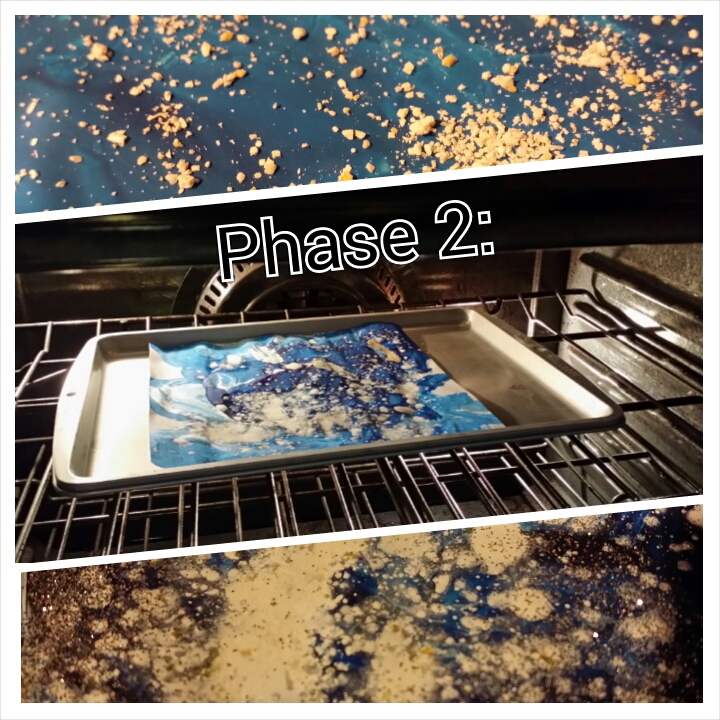
PHASE 2: Snow!
This was fun. A lot of prepwork on my part, and a lot of clean-up of that prepwork, too! The main ingredient was shredded white crayons. I’ve seen other bloggers take crayons to a cheese grater, but I like my fingertips too much to do that. I started out trying a pencil sharpener, but that didn’t work as well as I’d hoped. I took them down to as small as I could grab, then put the nubs into a bag and smacked them with a mallet until they were broken up into tiny pieces. Still not satisfied, I put those chunks into my Magic Bullet mixer/chopper and ground them to a fine powder. Now THAT is more like it! Clean-up was an issue, however, with the crayon wax firmly adhered to the sides of my blender! Oh well.
The kids sprinkled the crayon powder onto their masterpieces, then I put each one into the oven at 200 degrees for just a few minutes, until they melted. Once out of the oven, I sprinkled some silver glitter ever so lightly over the surface.
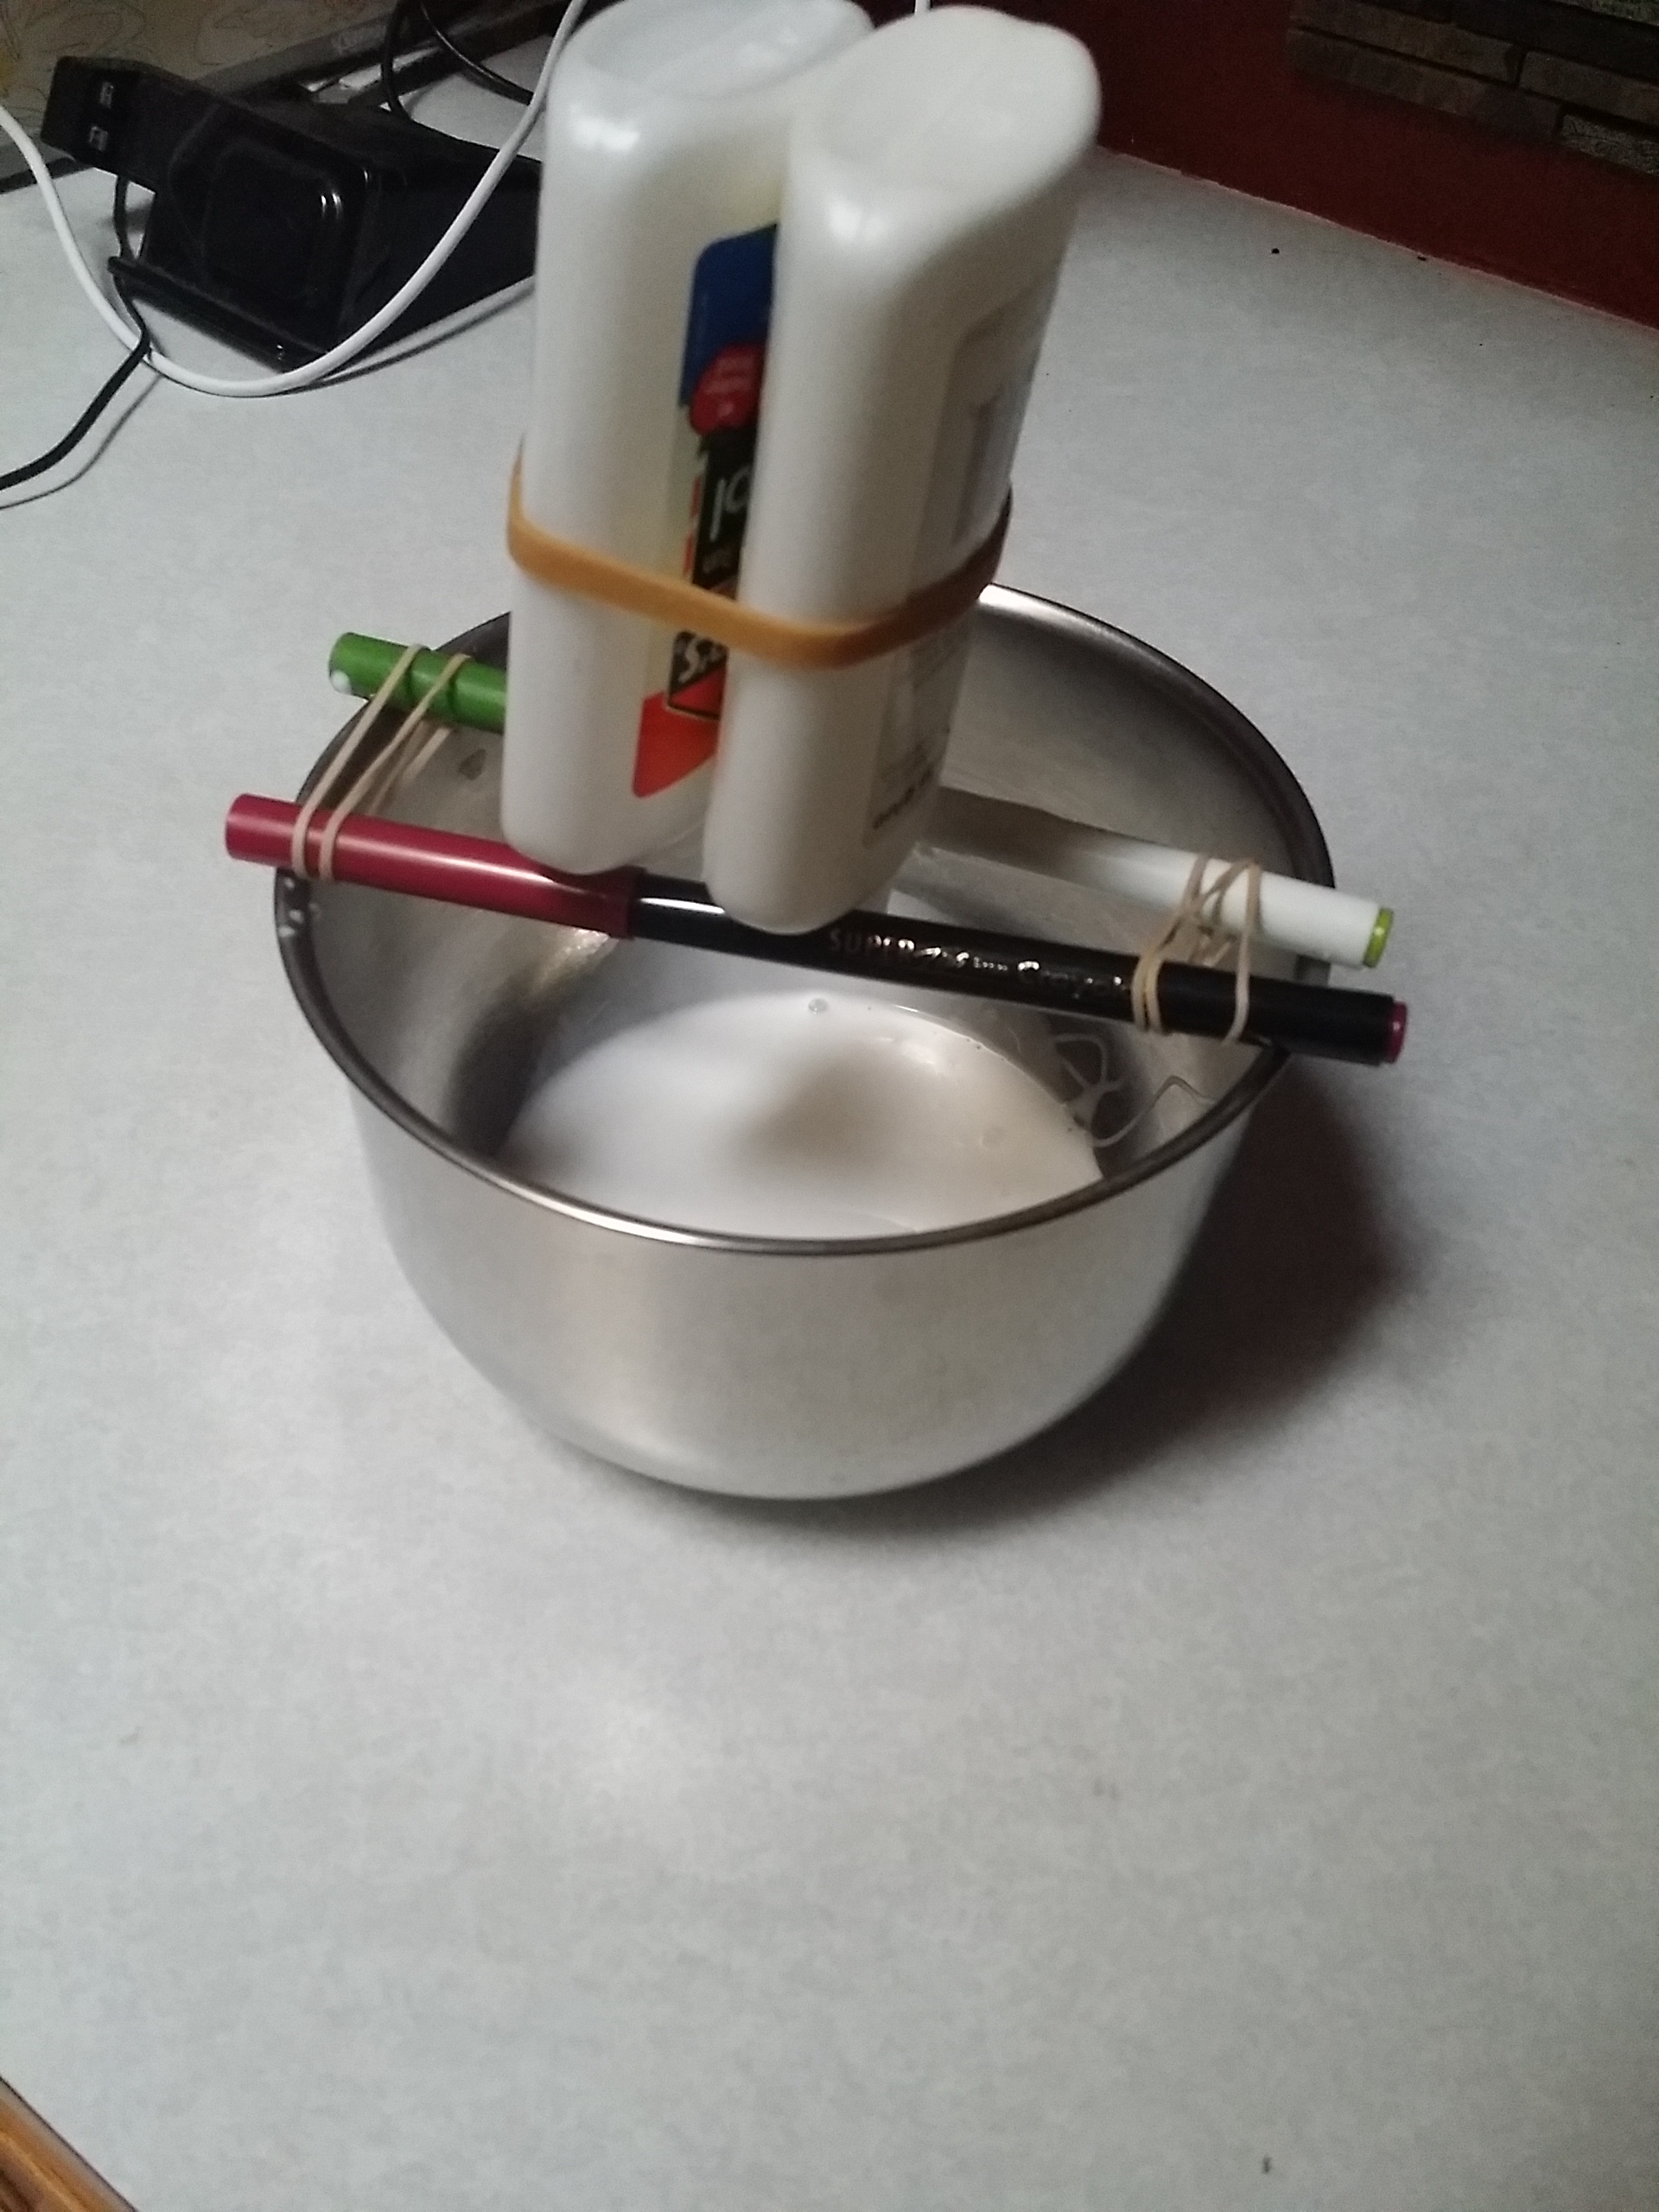
PHASE 3: Puff Painting a Snowman!
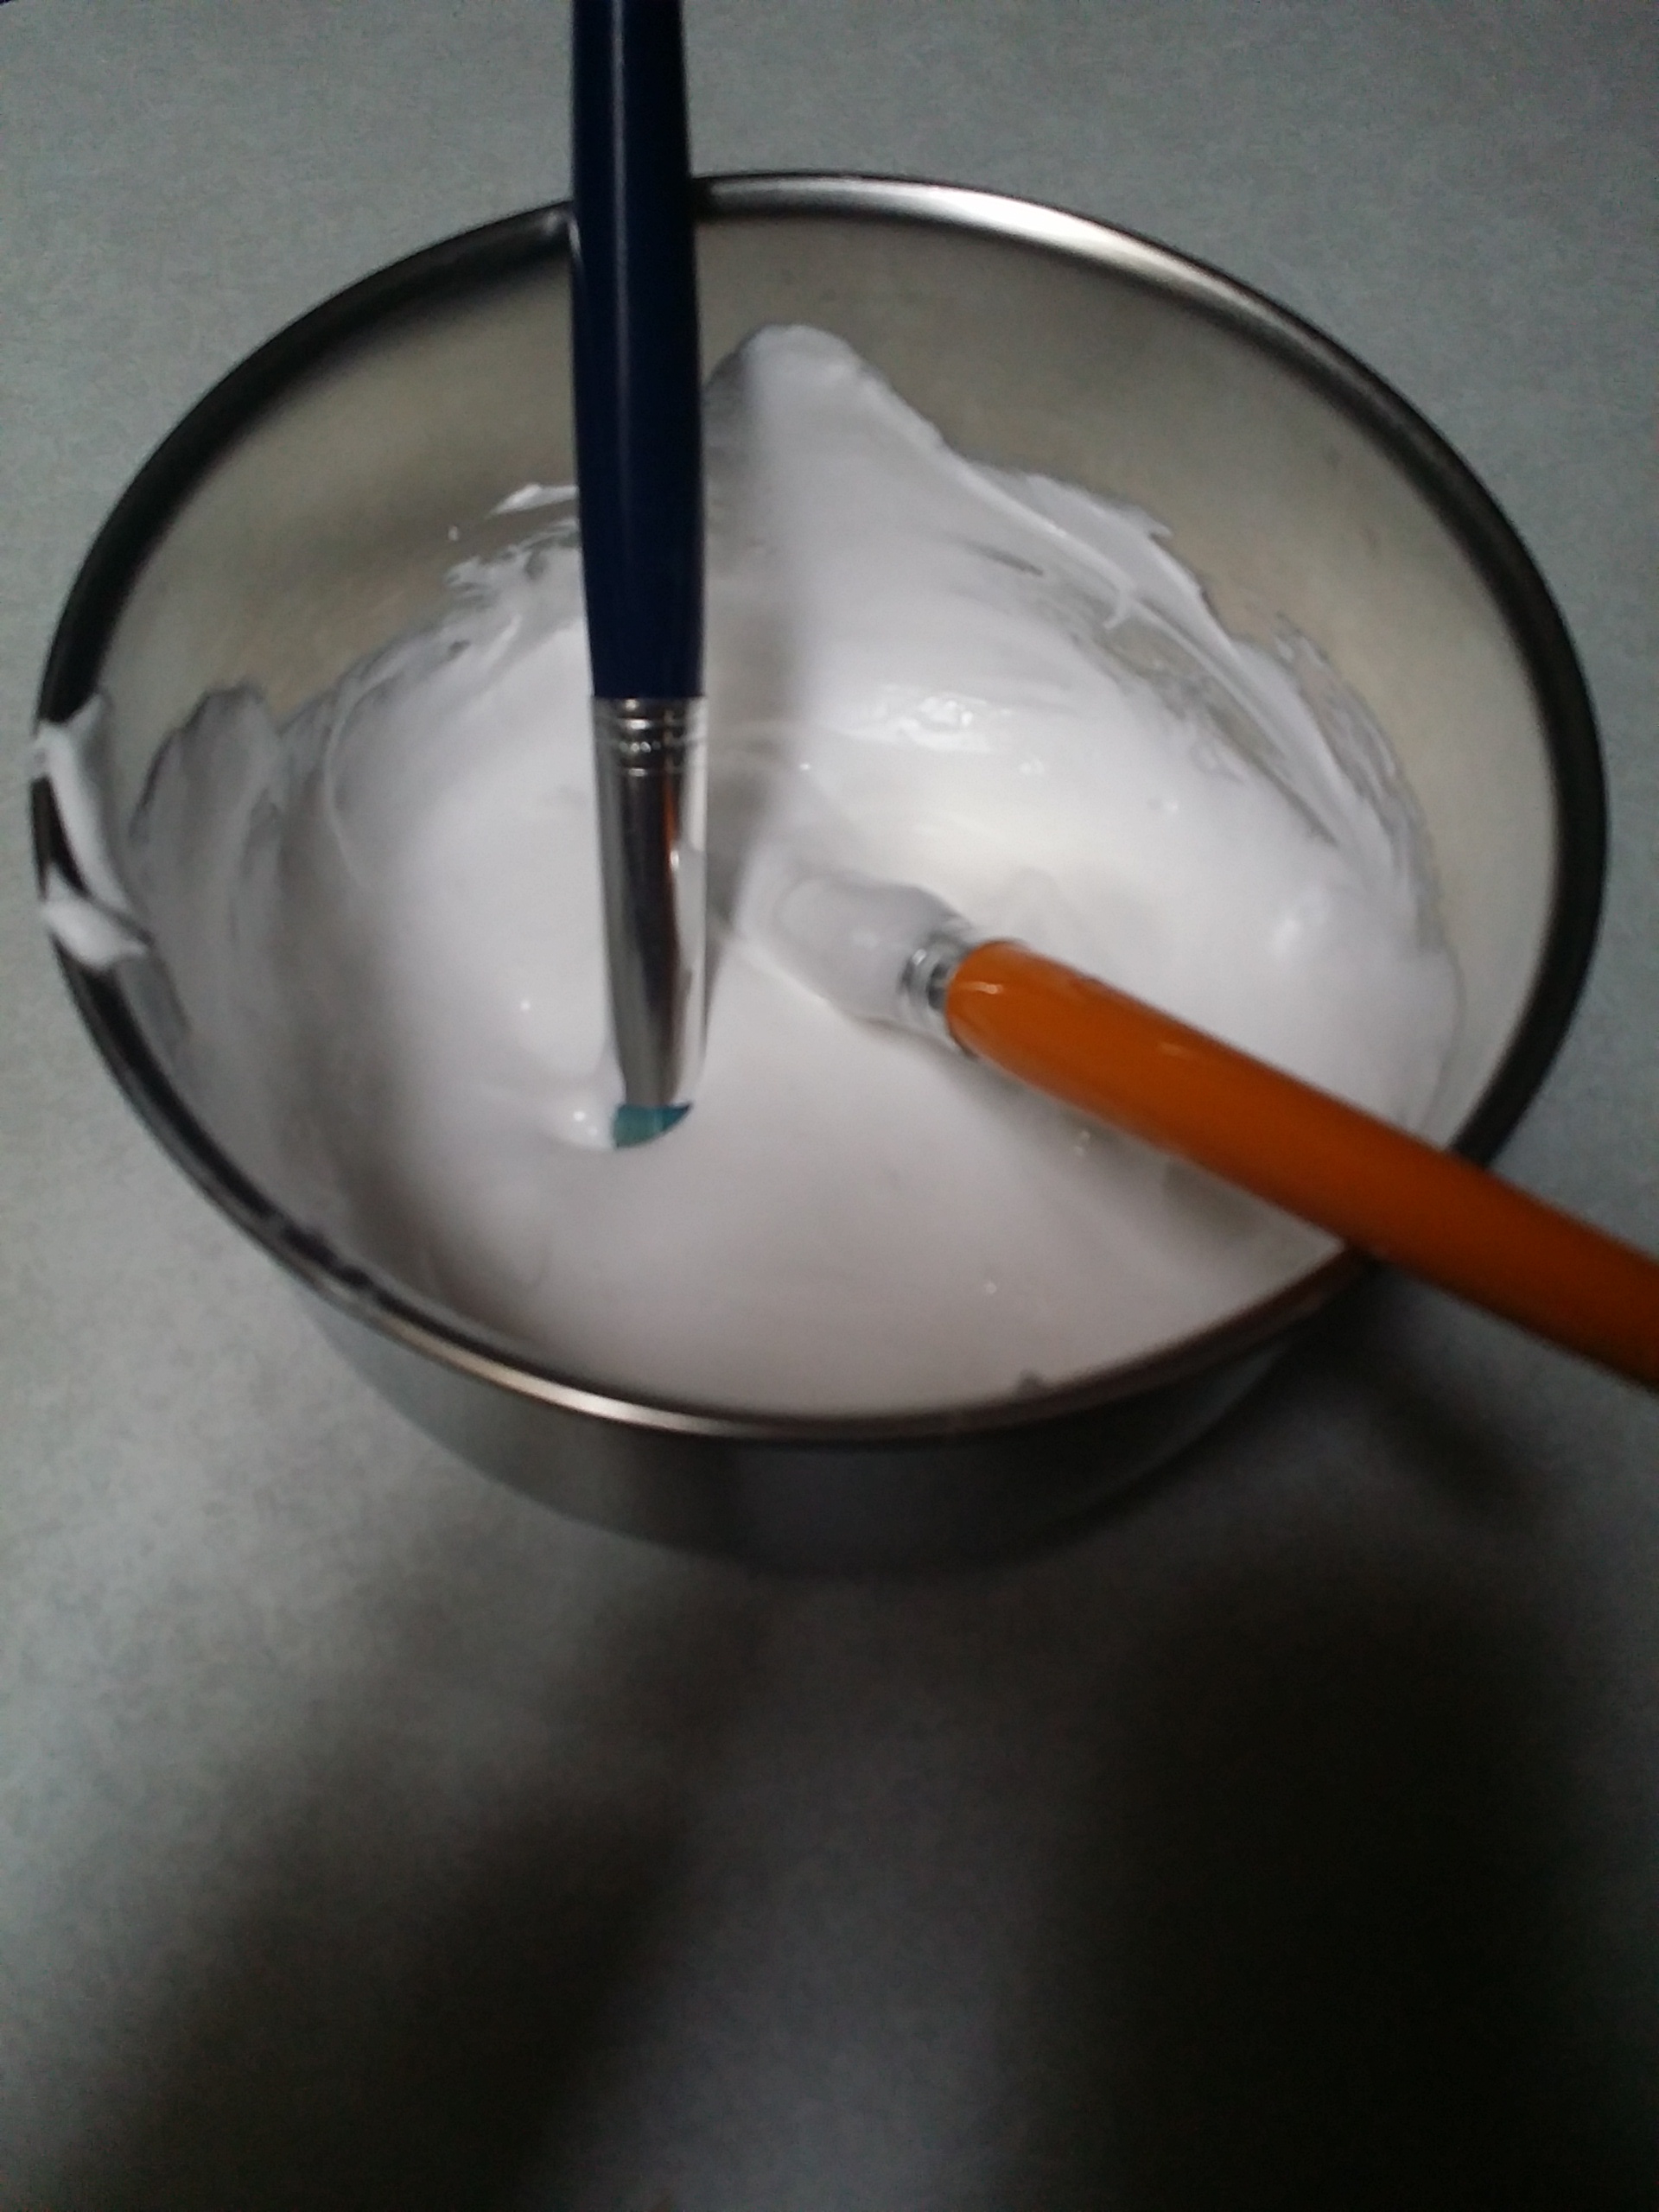
Ingredients: Elmer’s Glue, Shaving Cream, White Paint. Equal parts of glue and shaving cream. Not wanting to waste any glue, I concocted this brilliant “glue draining” system:
Next I added the shaving cream and white paint. I only added a bit of white paint to try to ensure the “paint” stayed white as it dried.
I cut out a snowman template so that the kids could dab the paint onto a specified area and not “ruin” the rest of the painting.
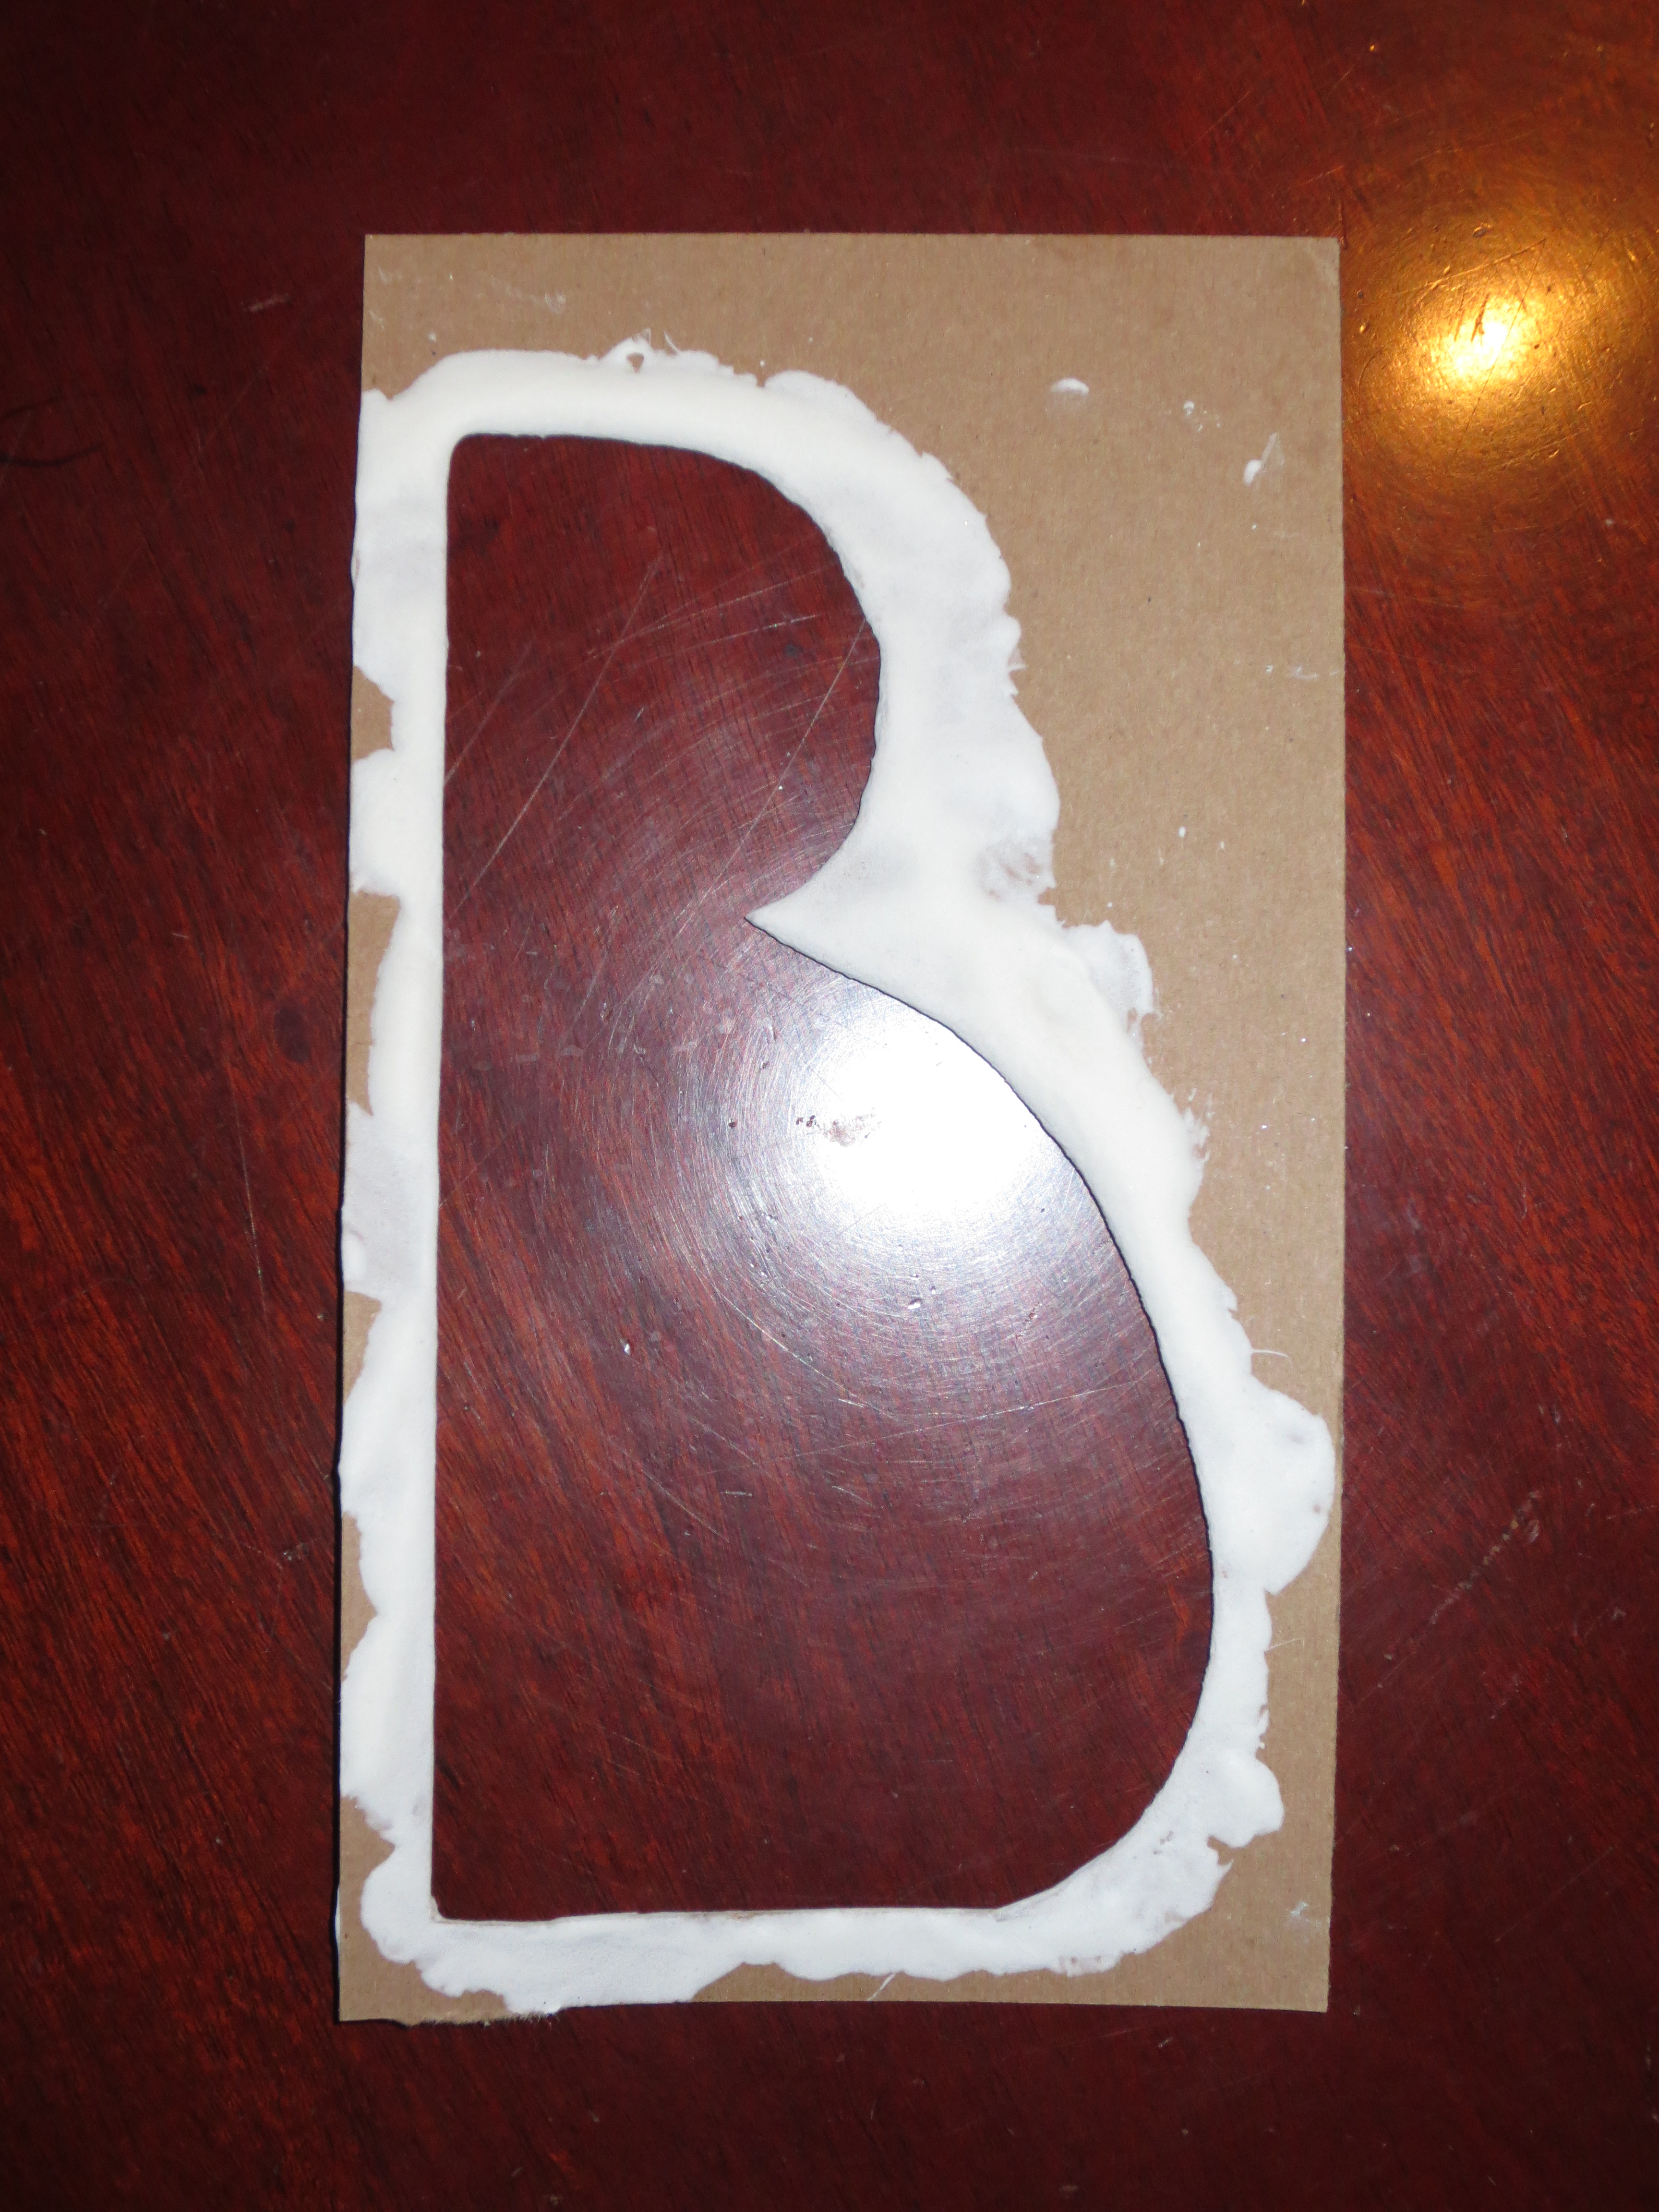
And then the kids got to work! This step had to dry for a few days as it was very thick and gooey.

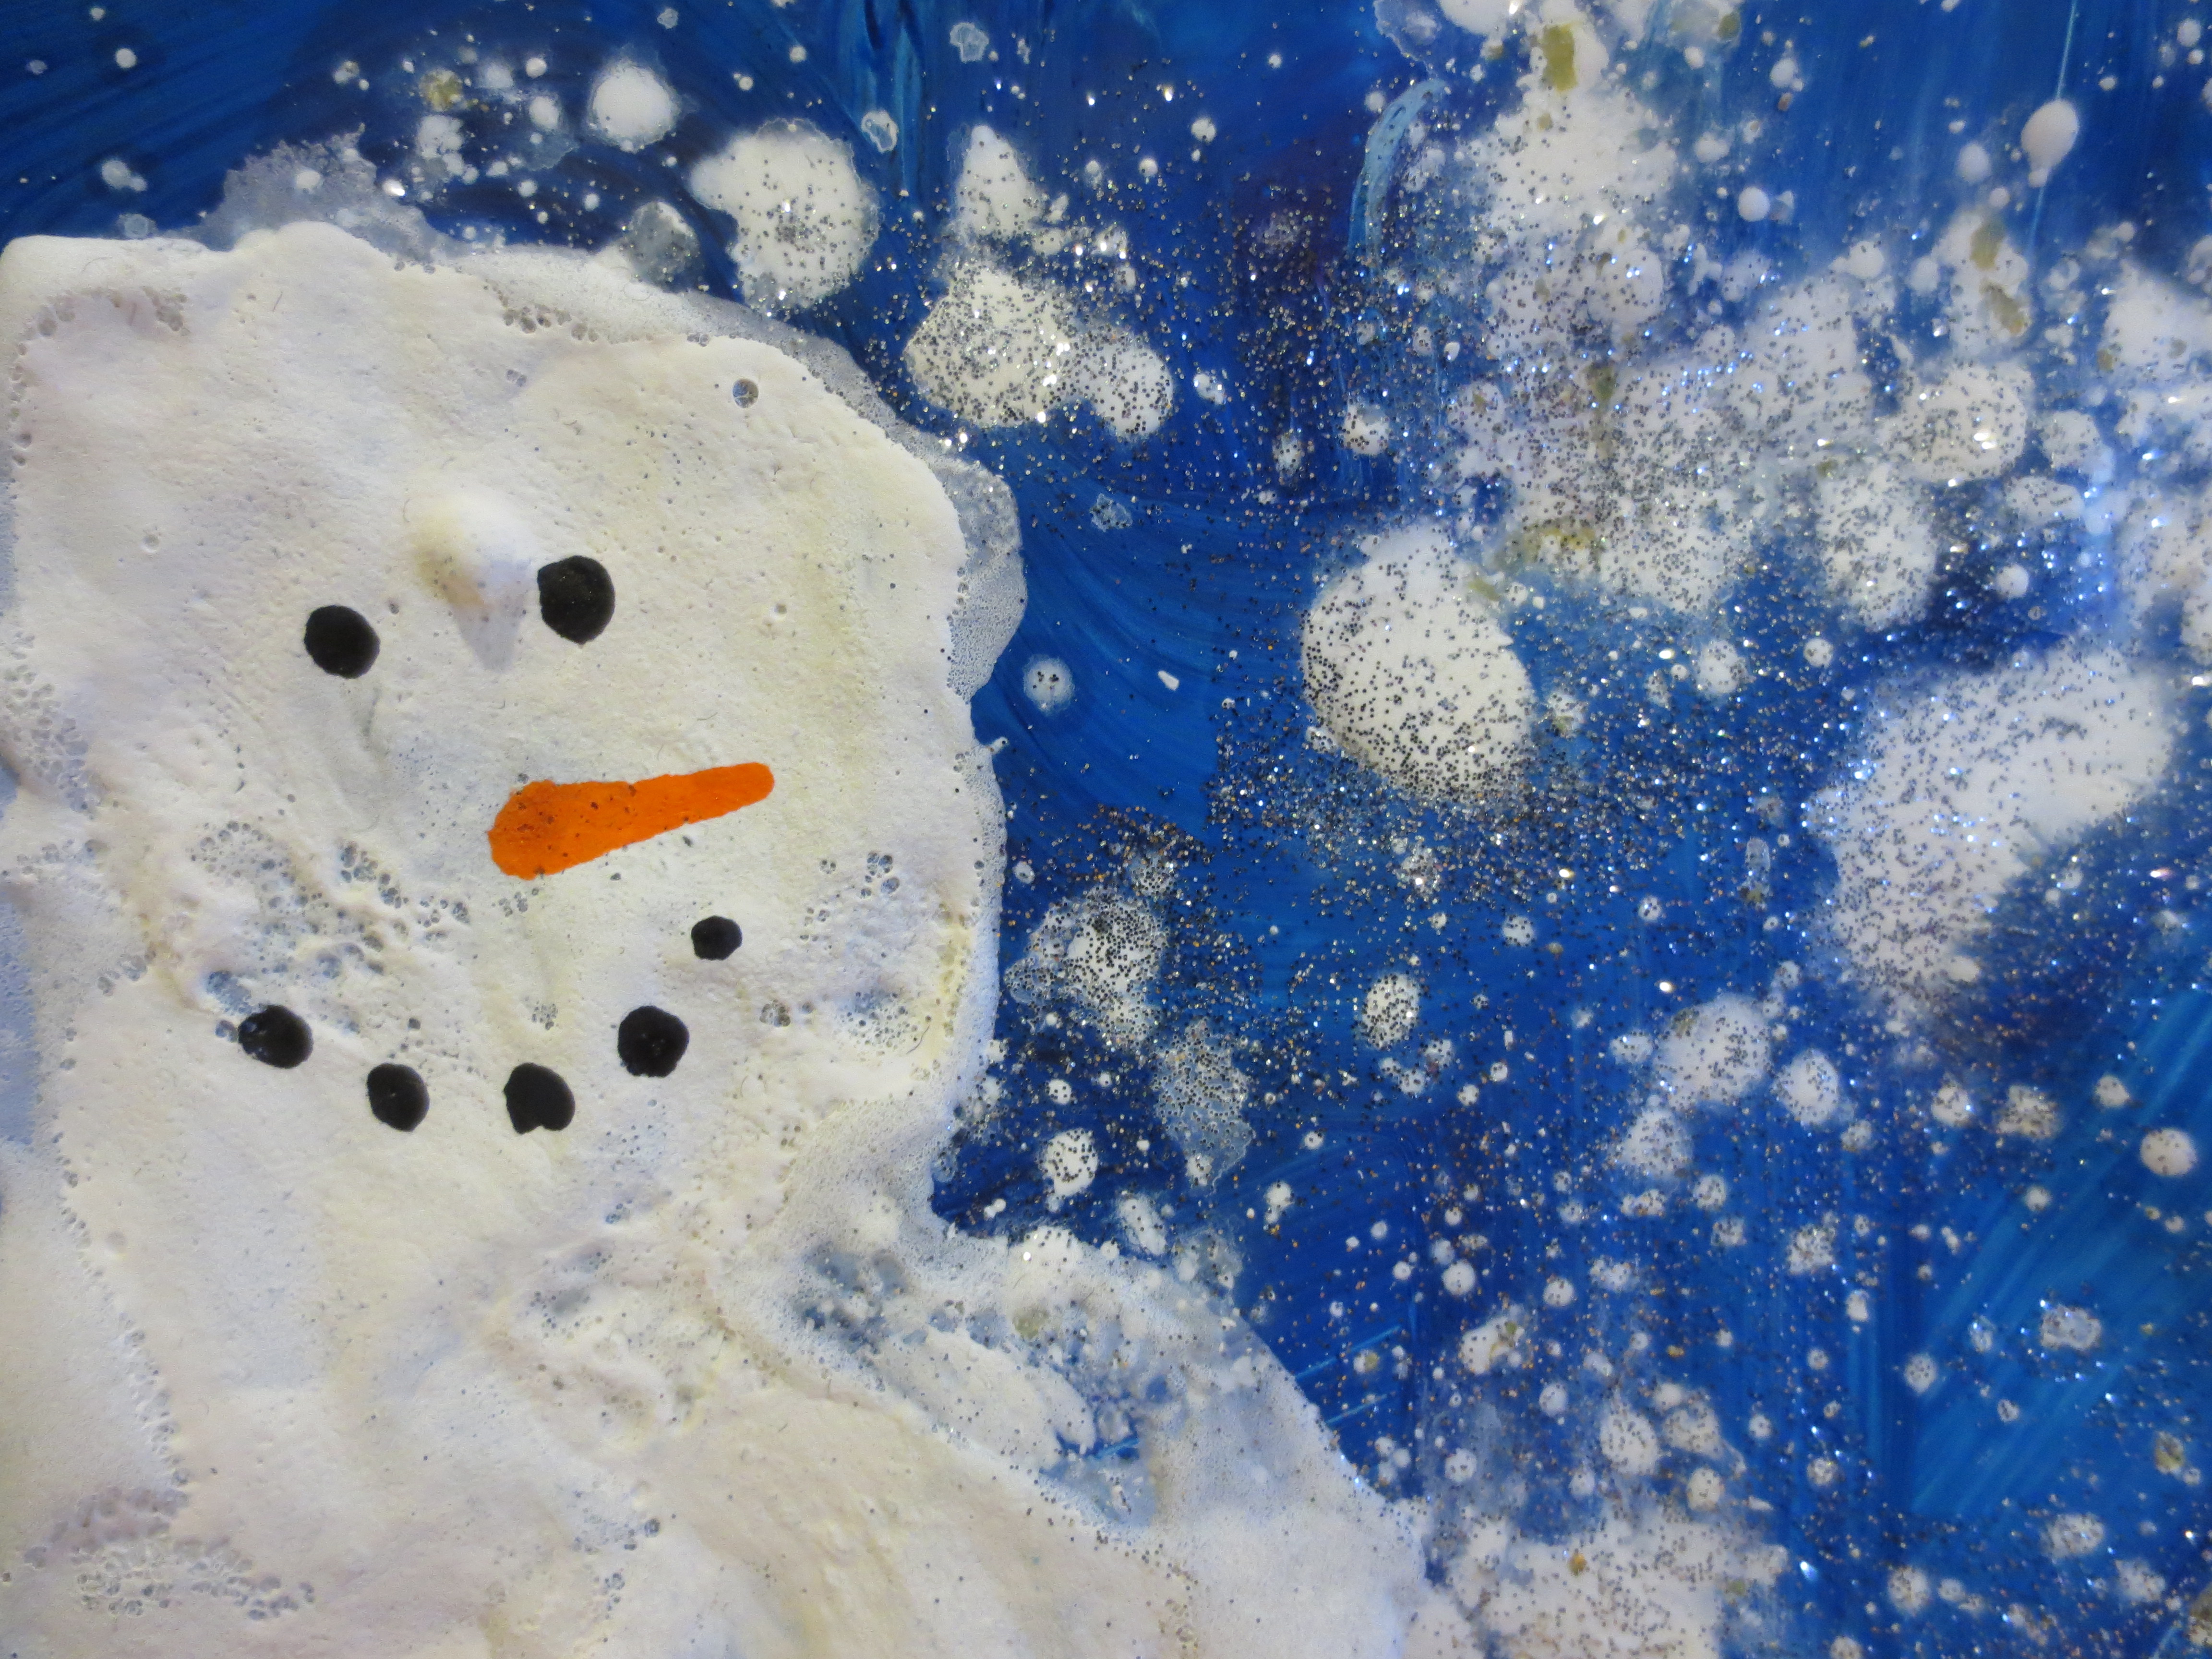
After they were completely dry, I drew a carrot nose and eyes using a Sharpie Oil Paint pen.
And here’s the finished product! I just love all the texture!

I put them in some Dollar Store frames that I had picked up earlier in the year- I just happened to have enough for each kiddo! Perfect!
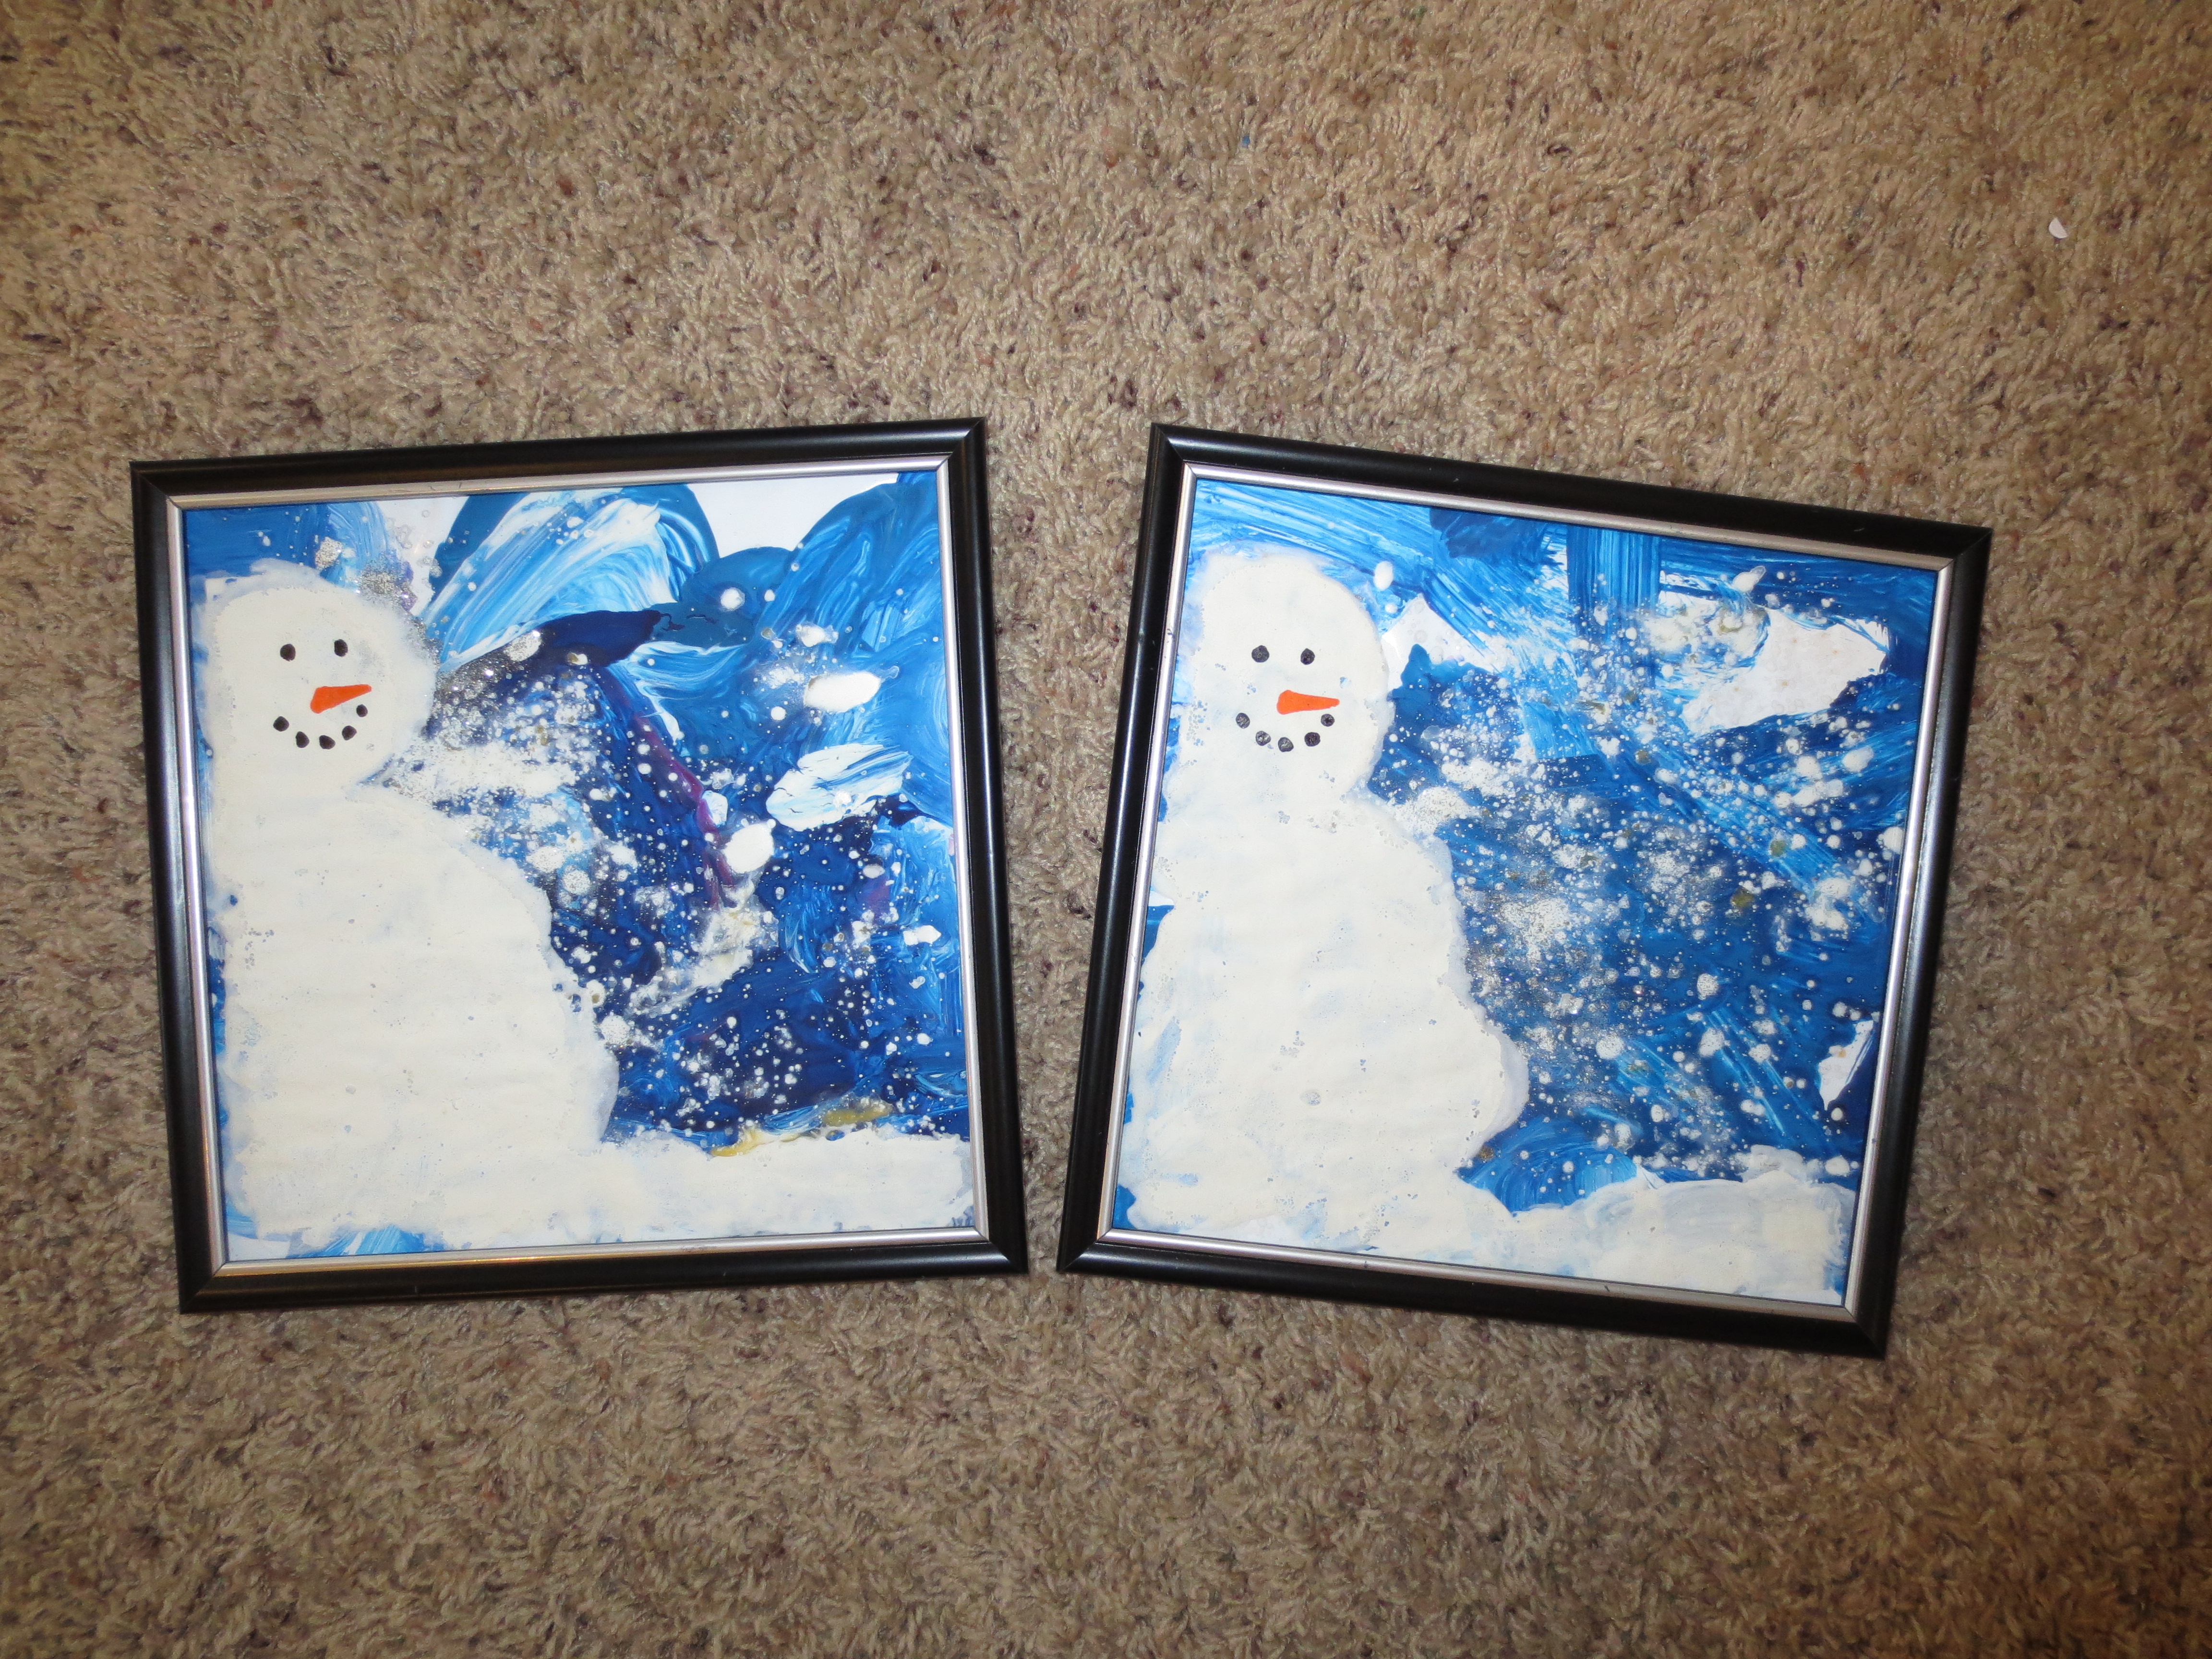
I’m super happy with how they turned out and I’m sure the parents will proudly display the artwork through January, and maybe pull it out every winter. I’m extra proud because these kids created these pieces all on their own! (Except for the oven part, the template, and the painted faces- lol!)

Love the snowmen J
Can I make one???