
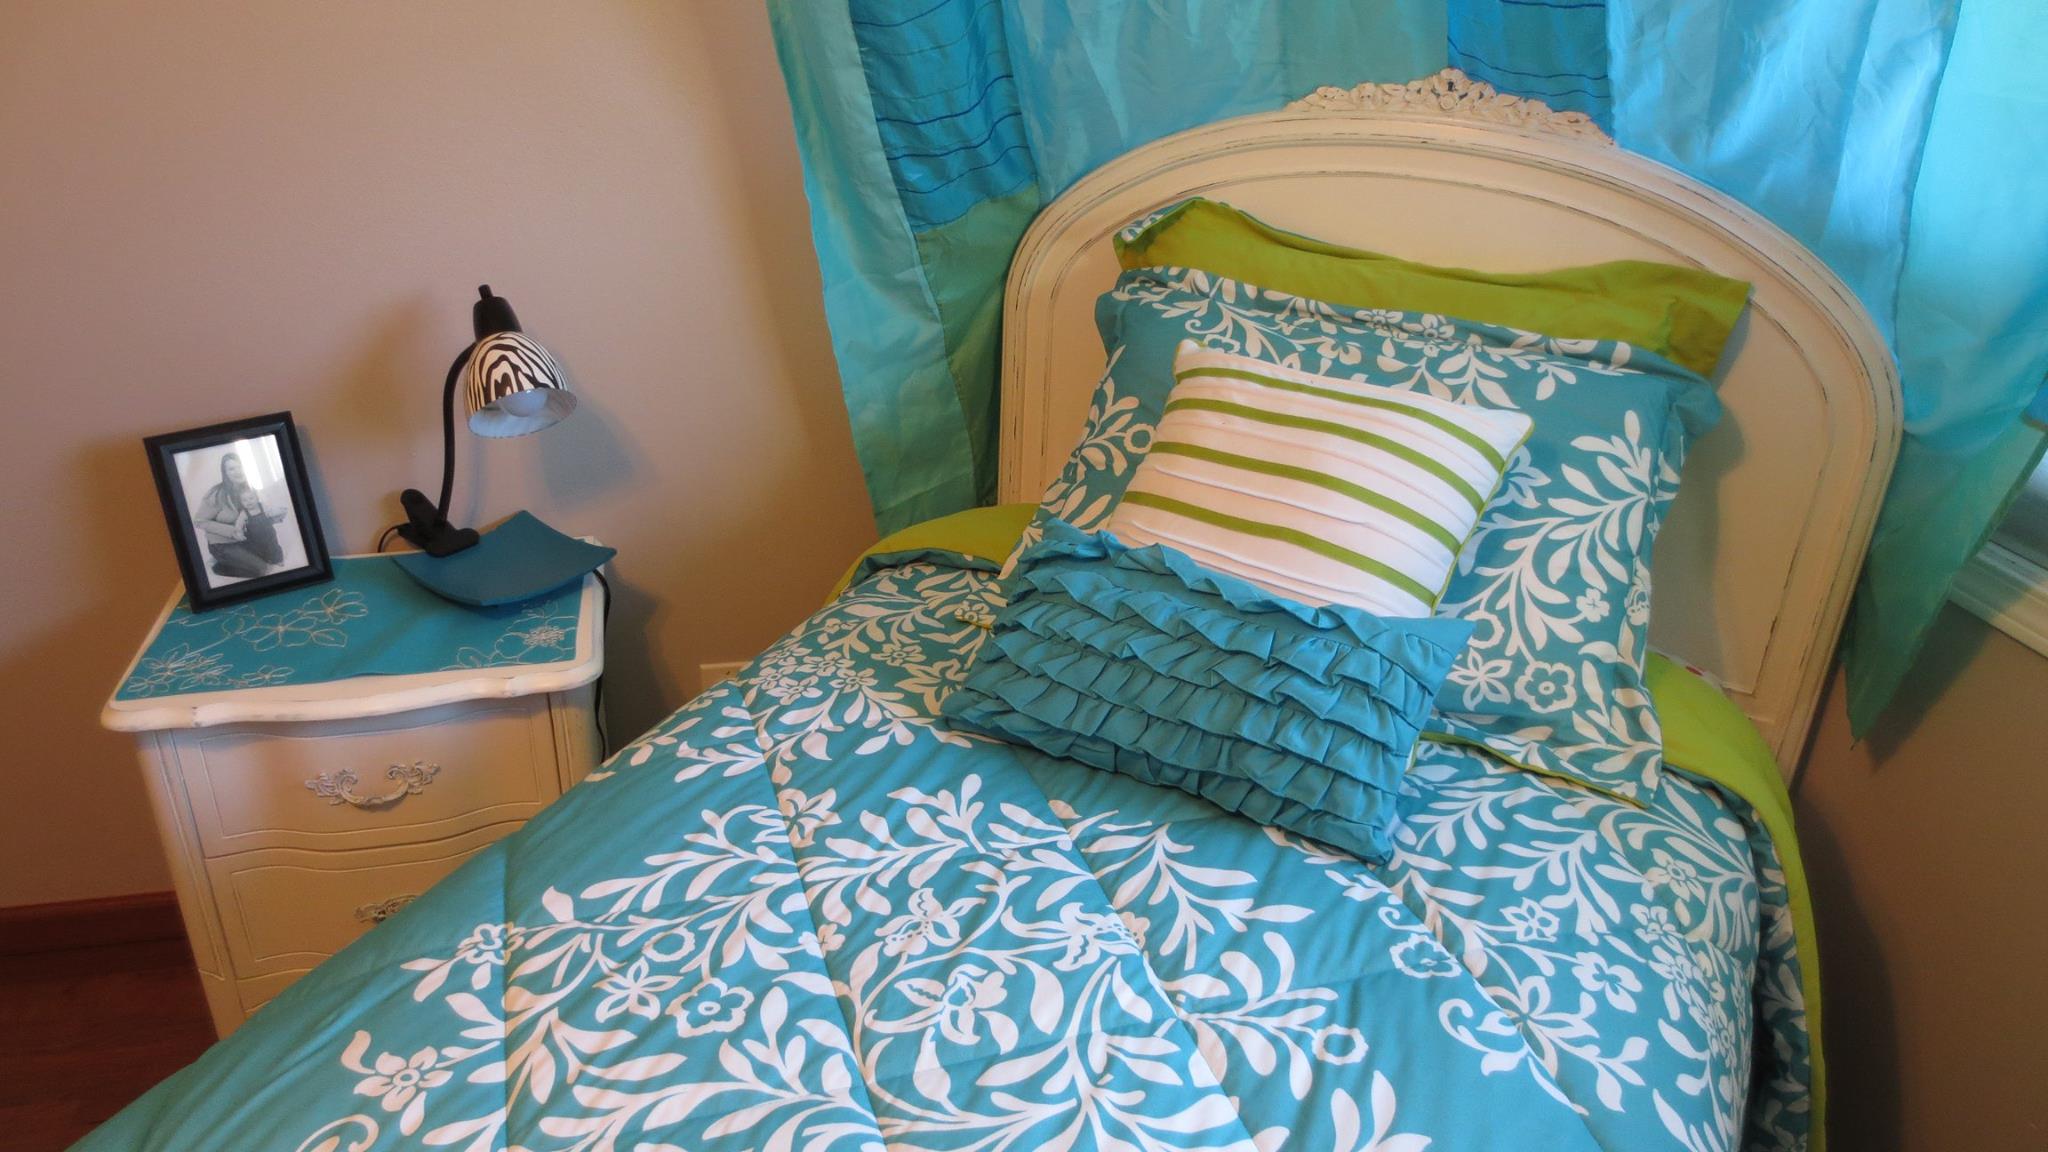
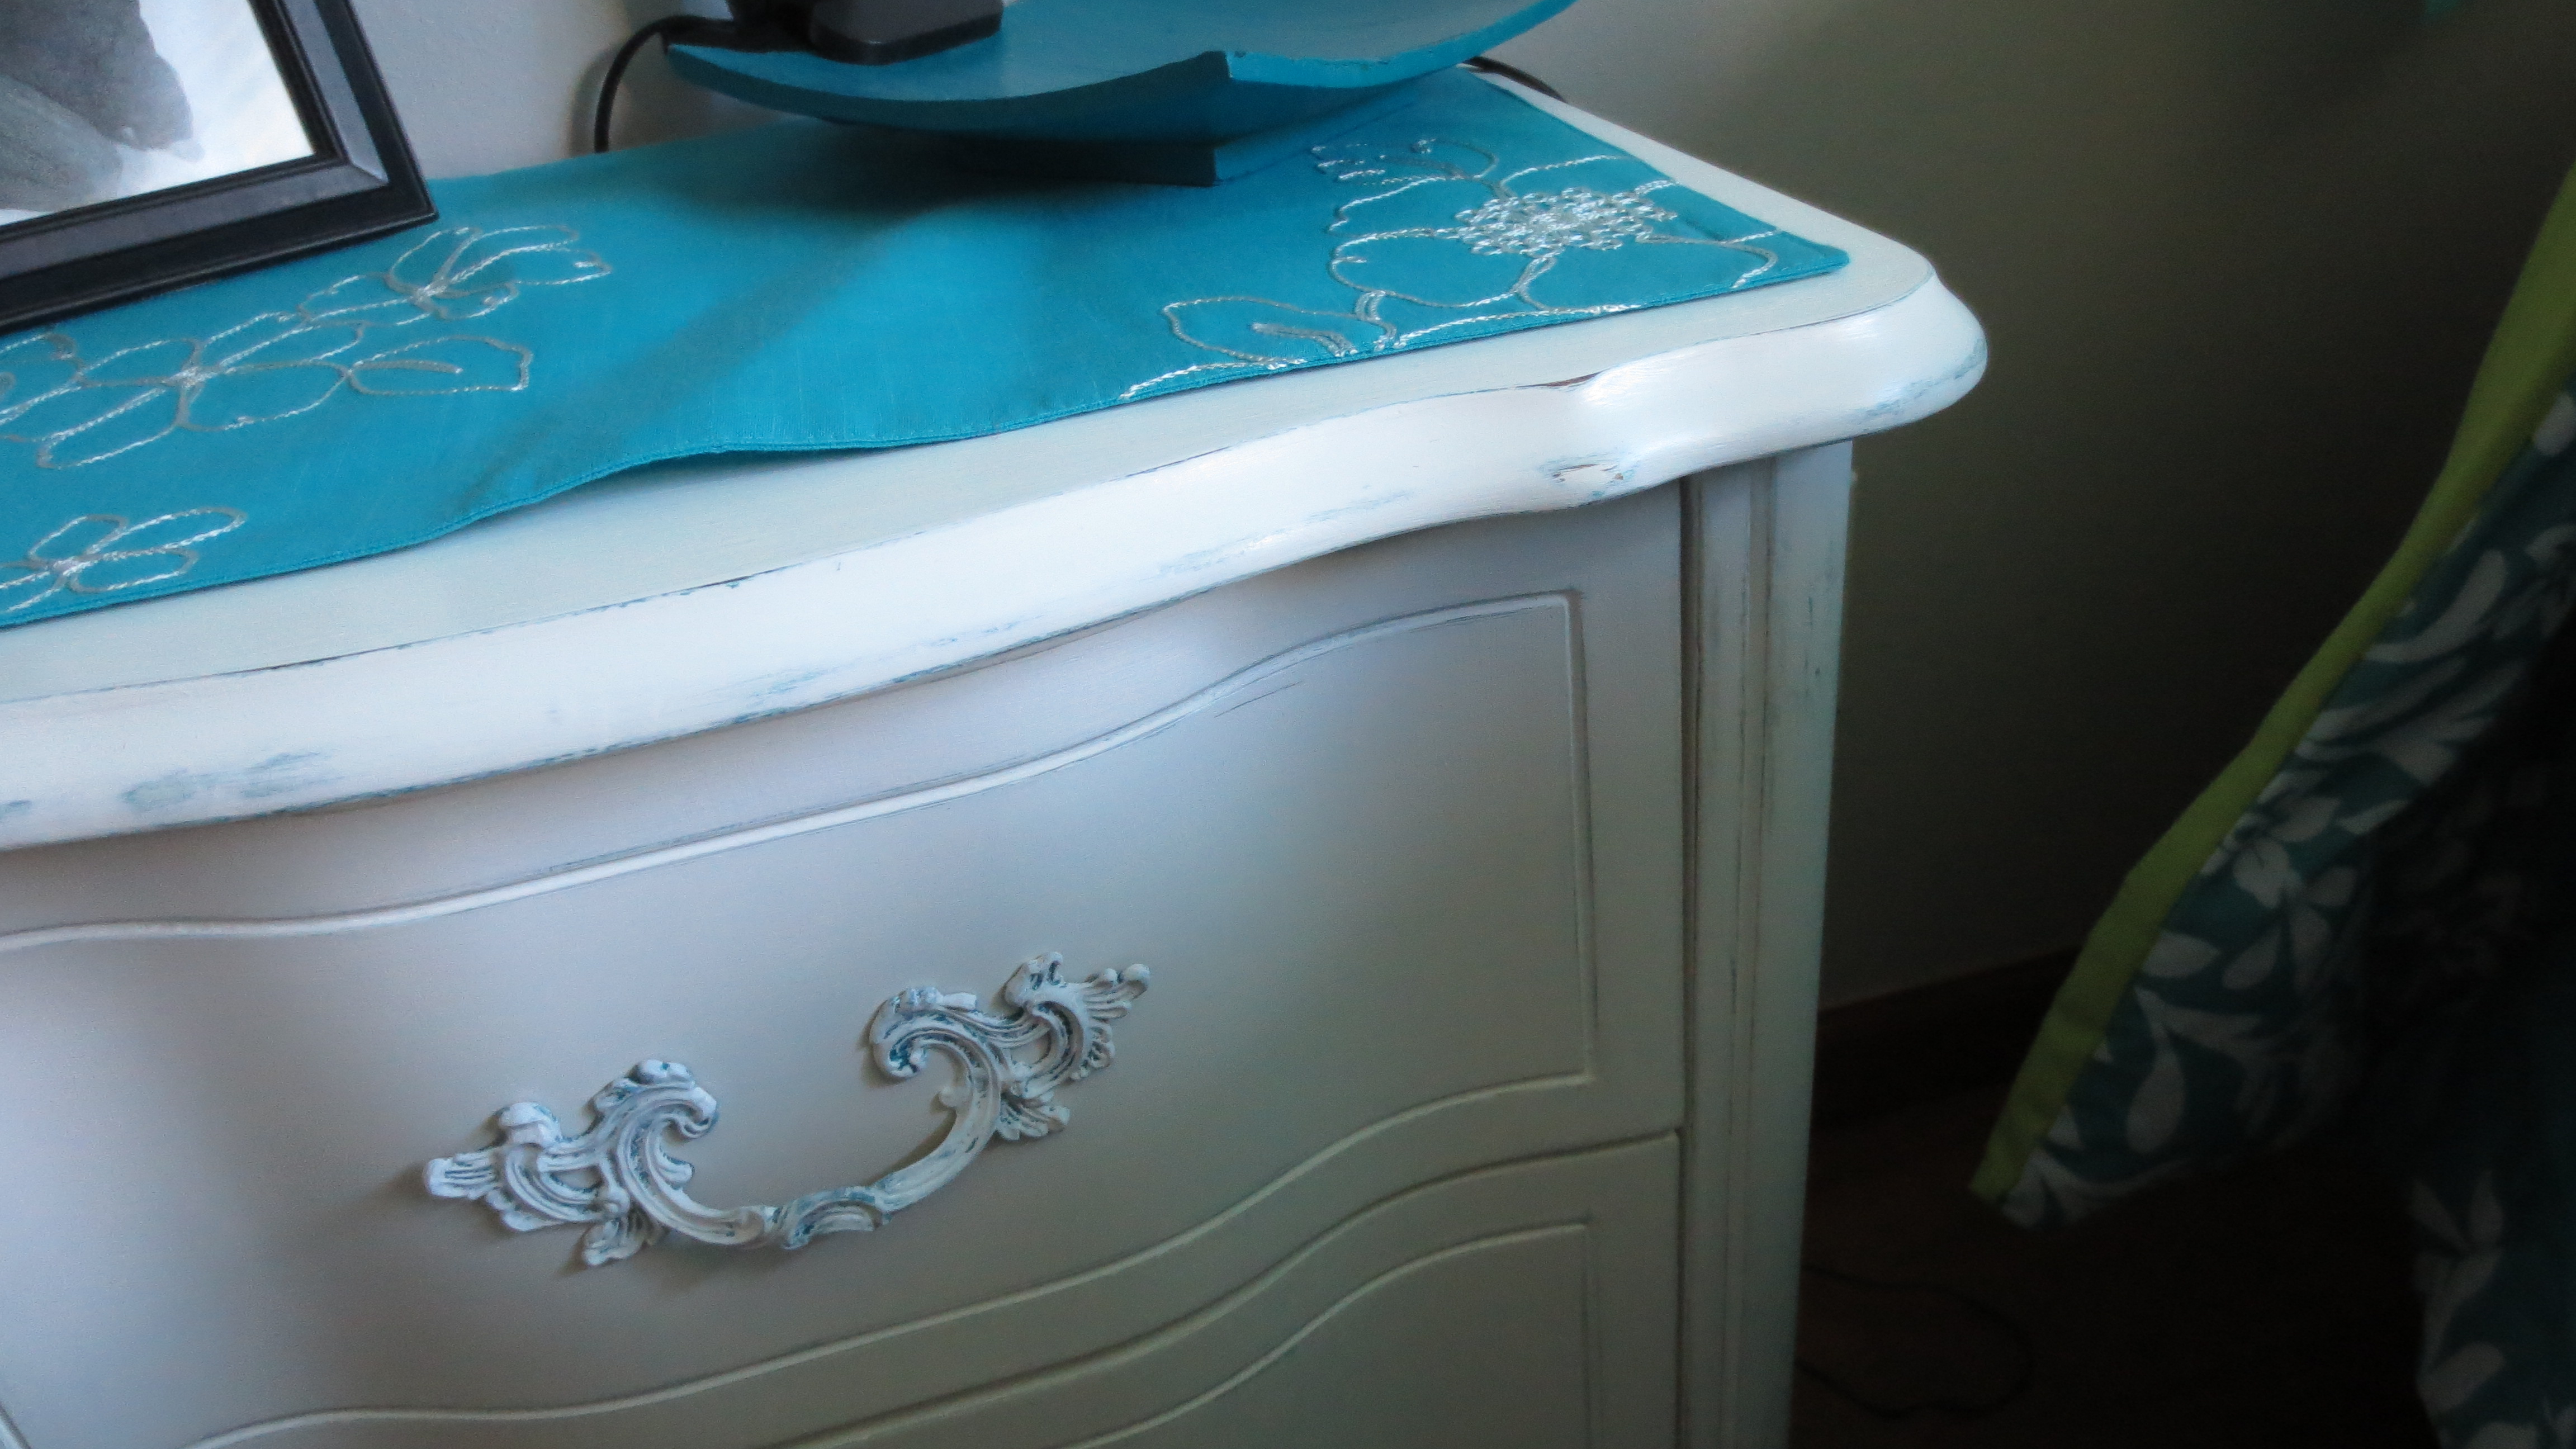
You saw a sneak peek of the refinished night stand and headboard here…
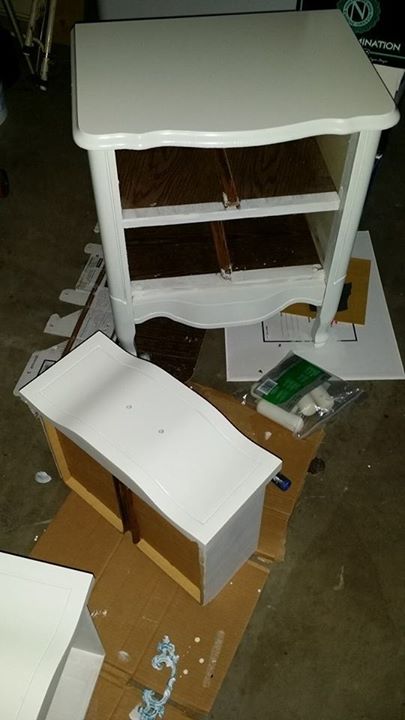
Would you believe they used to look like this?

And this?

The night stand I picked up from Goodwill for a whopping $10. I didn’t realize the drawer fronts were plastic at the time, I just knew I liked the styling of it and saw a ton of potential. I hoped I had picked up an actual antique gem, but it was just a cheap antique replica made in the 1960’s.
I knew I wanted to paint the nightstand white, but I wanted to give it a distressed look. When I Googled “distressing white furniture” the trend seems to be distressing with chalk paint. So I decided to give it a go!
Of course being the cheap person that I am, I researched DIY chalkpaint methods (rather than buying the uber-pricey paint). The top recommendation was to mix plaster of paris with paint, the second most popular recommendation was to use unsanded grout mixed with paint. I didn’t have any plaster of paris, but I DID have unsanded grout- in white!
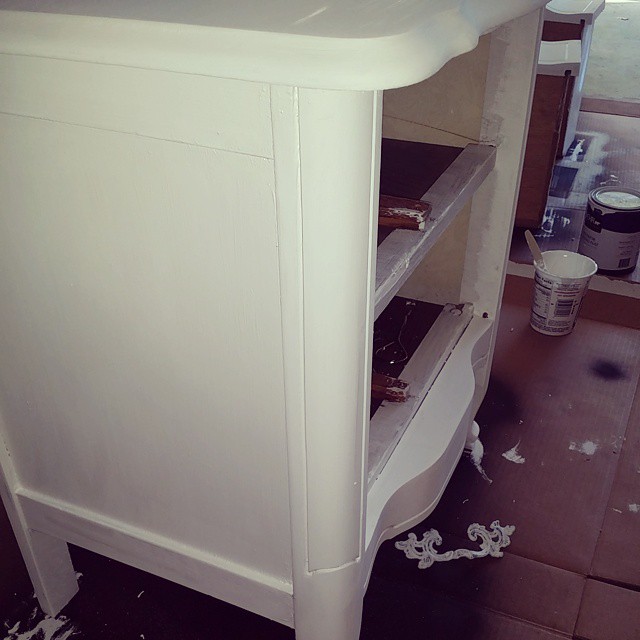
First up, though, was a coat of primer using my Number 1 Go-To Covers ANYTHING primer by B-I-N:

I always use a roller with BIN because I want no visible brush streaks and BIN is super super thin.
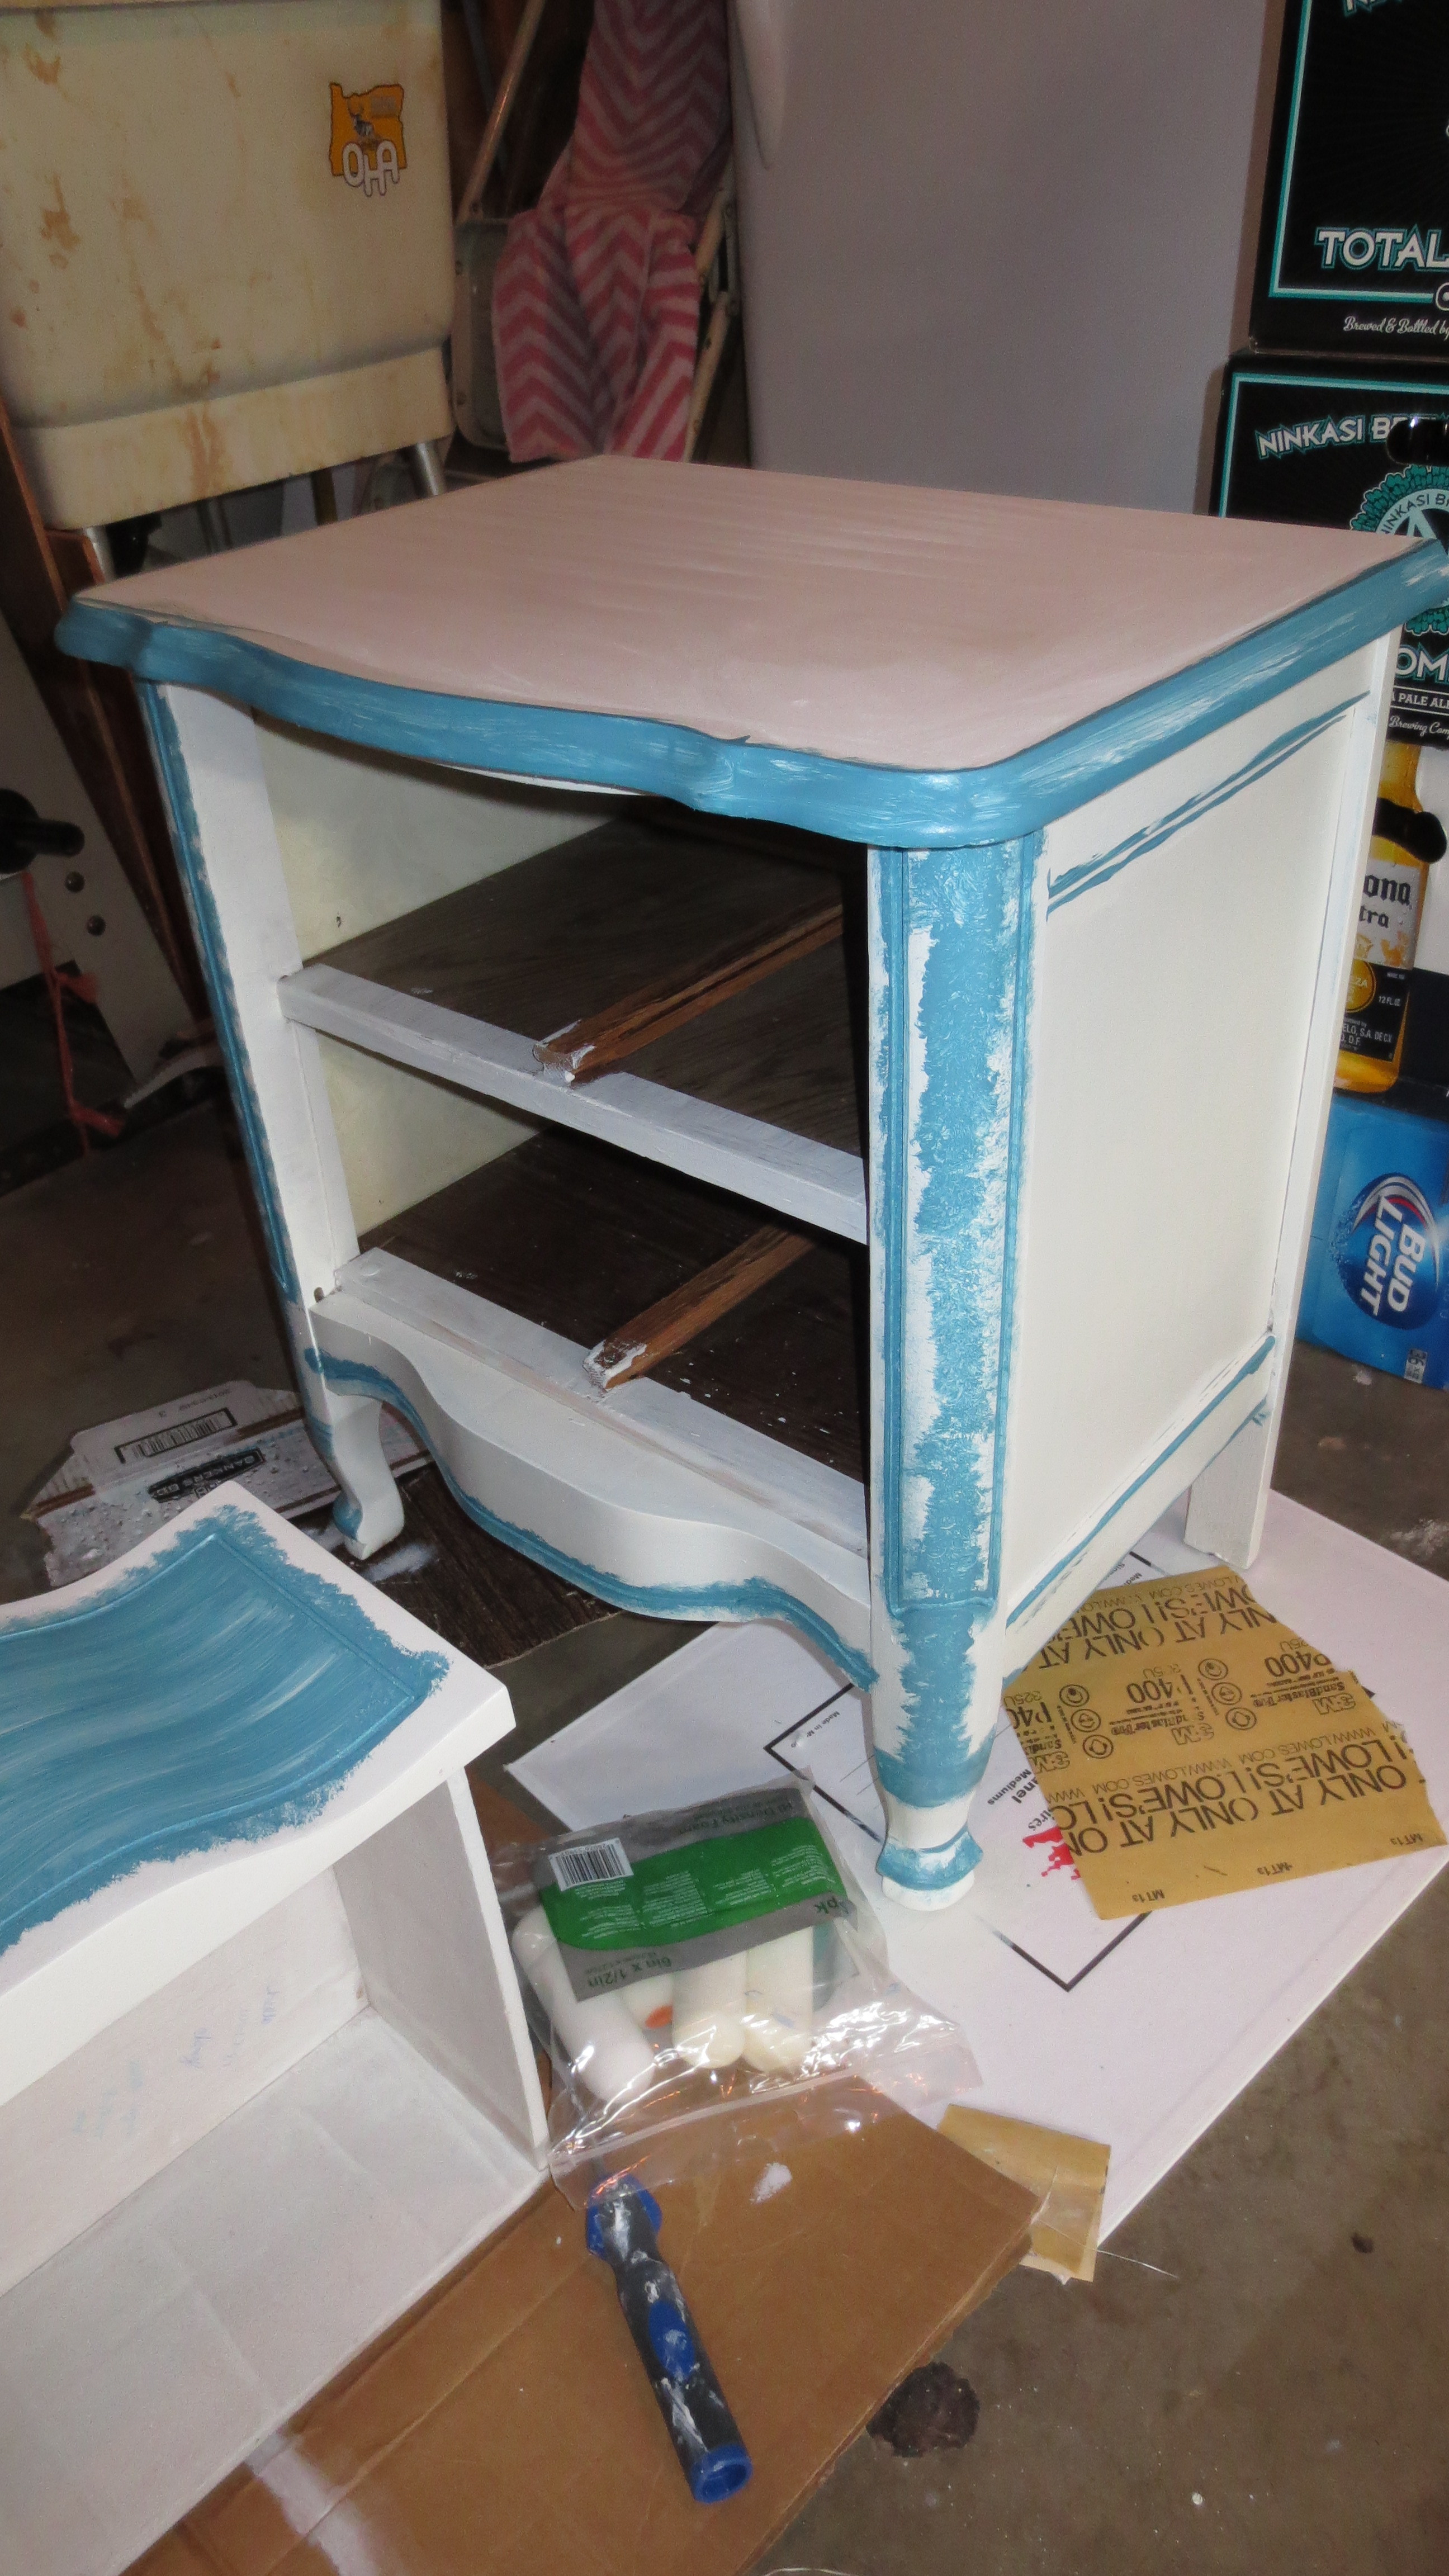
Knowing that I wanted to distress the nightstand with some hints of turquoise, I painted the grooves and edges with some teal paint (the same teal paint that I used in the playroom):
And finally- the DIY chalkpaint!
DIY CHALKPAINT: UNSANDED GROUT
2T unsanded grout mixed with a small amount of water so it becomes a creamy paste (think toothpaste consistency)
Add this to 1 cup latex paint
It mixed up smoothly and I was happily painting away when suddenly it was drying in the bucket faster than I could paint it- it was lumpy and glumpy and leaving streaks and globs and um, well, it was HORRIBLE. I must have done something wrong.
I researched DIY chalkpaint recipes again and it turns out that some unsanded grouts have special additives that cause “glumping” when mixed with paint. And some paints have additives that cause “glumping” when mixed with unsanded grout.
The next day when it was totally dry, I sanded all the chalkpaint globs off- returning the nightstand to a smooth surface (and darkening the teal painted areas with more teal) and after work I went to Lowe’s to buy some Plaster of Paris and a new can of Flat white latex paint- WITHOUT a primer. So now my FREE makeover is costing me money.
Oh well. Can’t have everything, right?
DIY CHALKPAINT: PLASTER OF PARIS
5T Plaster of Paris mixed with 3T water to a creamy satin texture
Add this to 2 cups latex paint and mix well
This paint was looking and feeling MUCH better (huge sigh!)
Once it dries, it reminds me of marshmallows. The texture and surface once dry looks like a marshmallow!
It’s just so soft and looks “puffy” but it’s not!
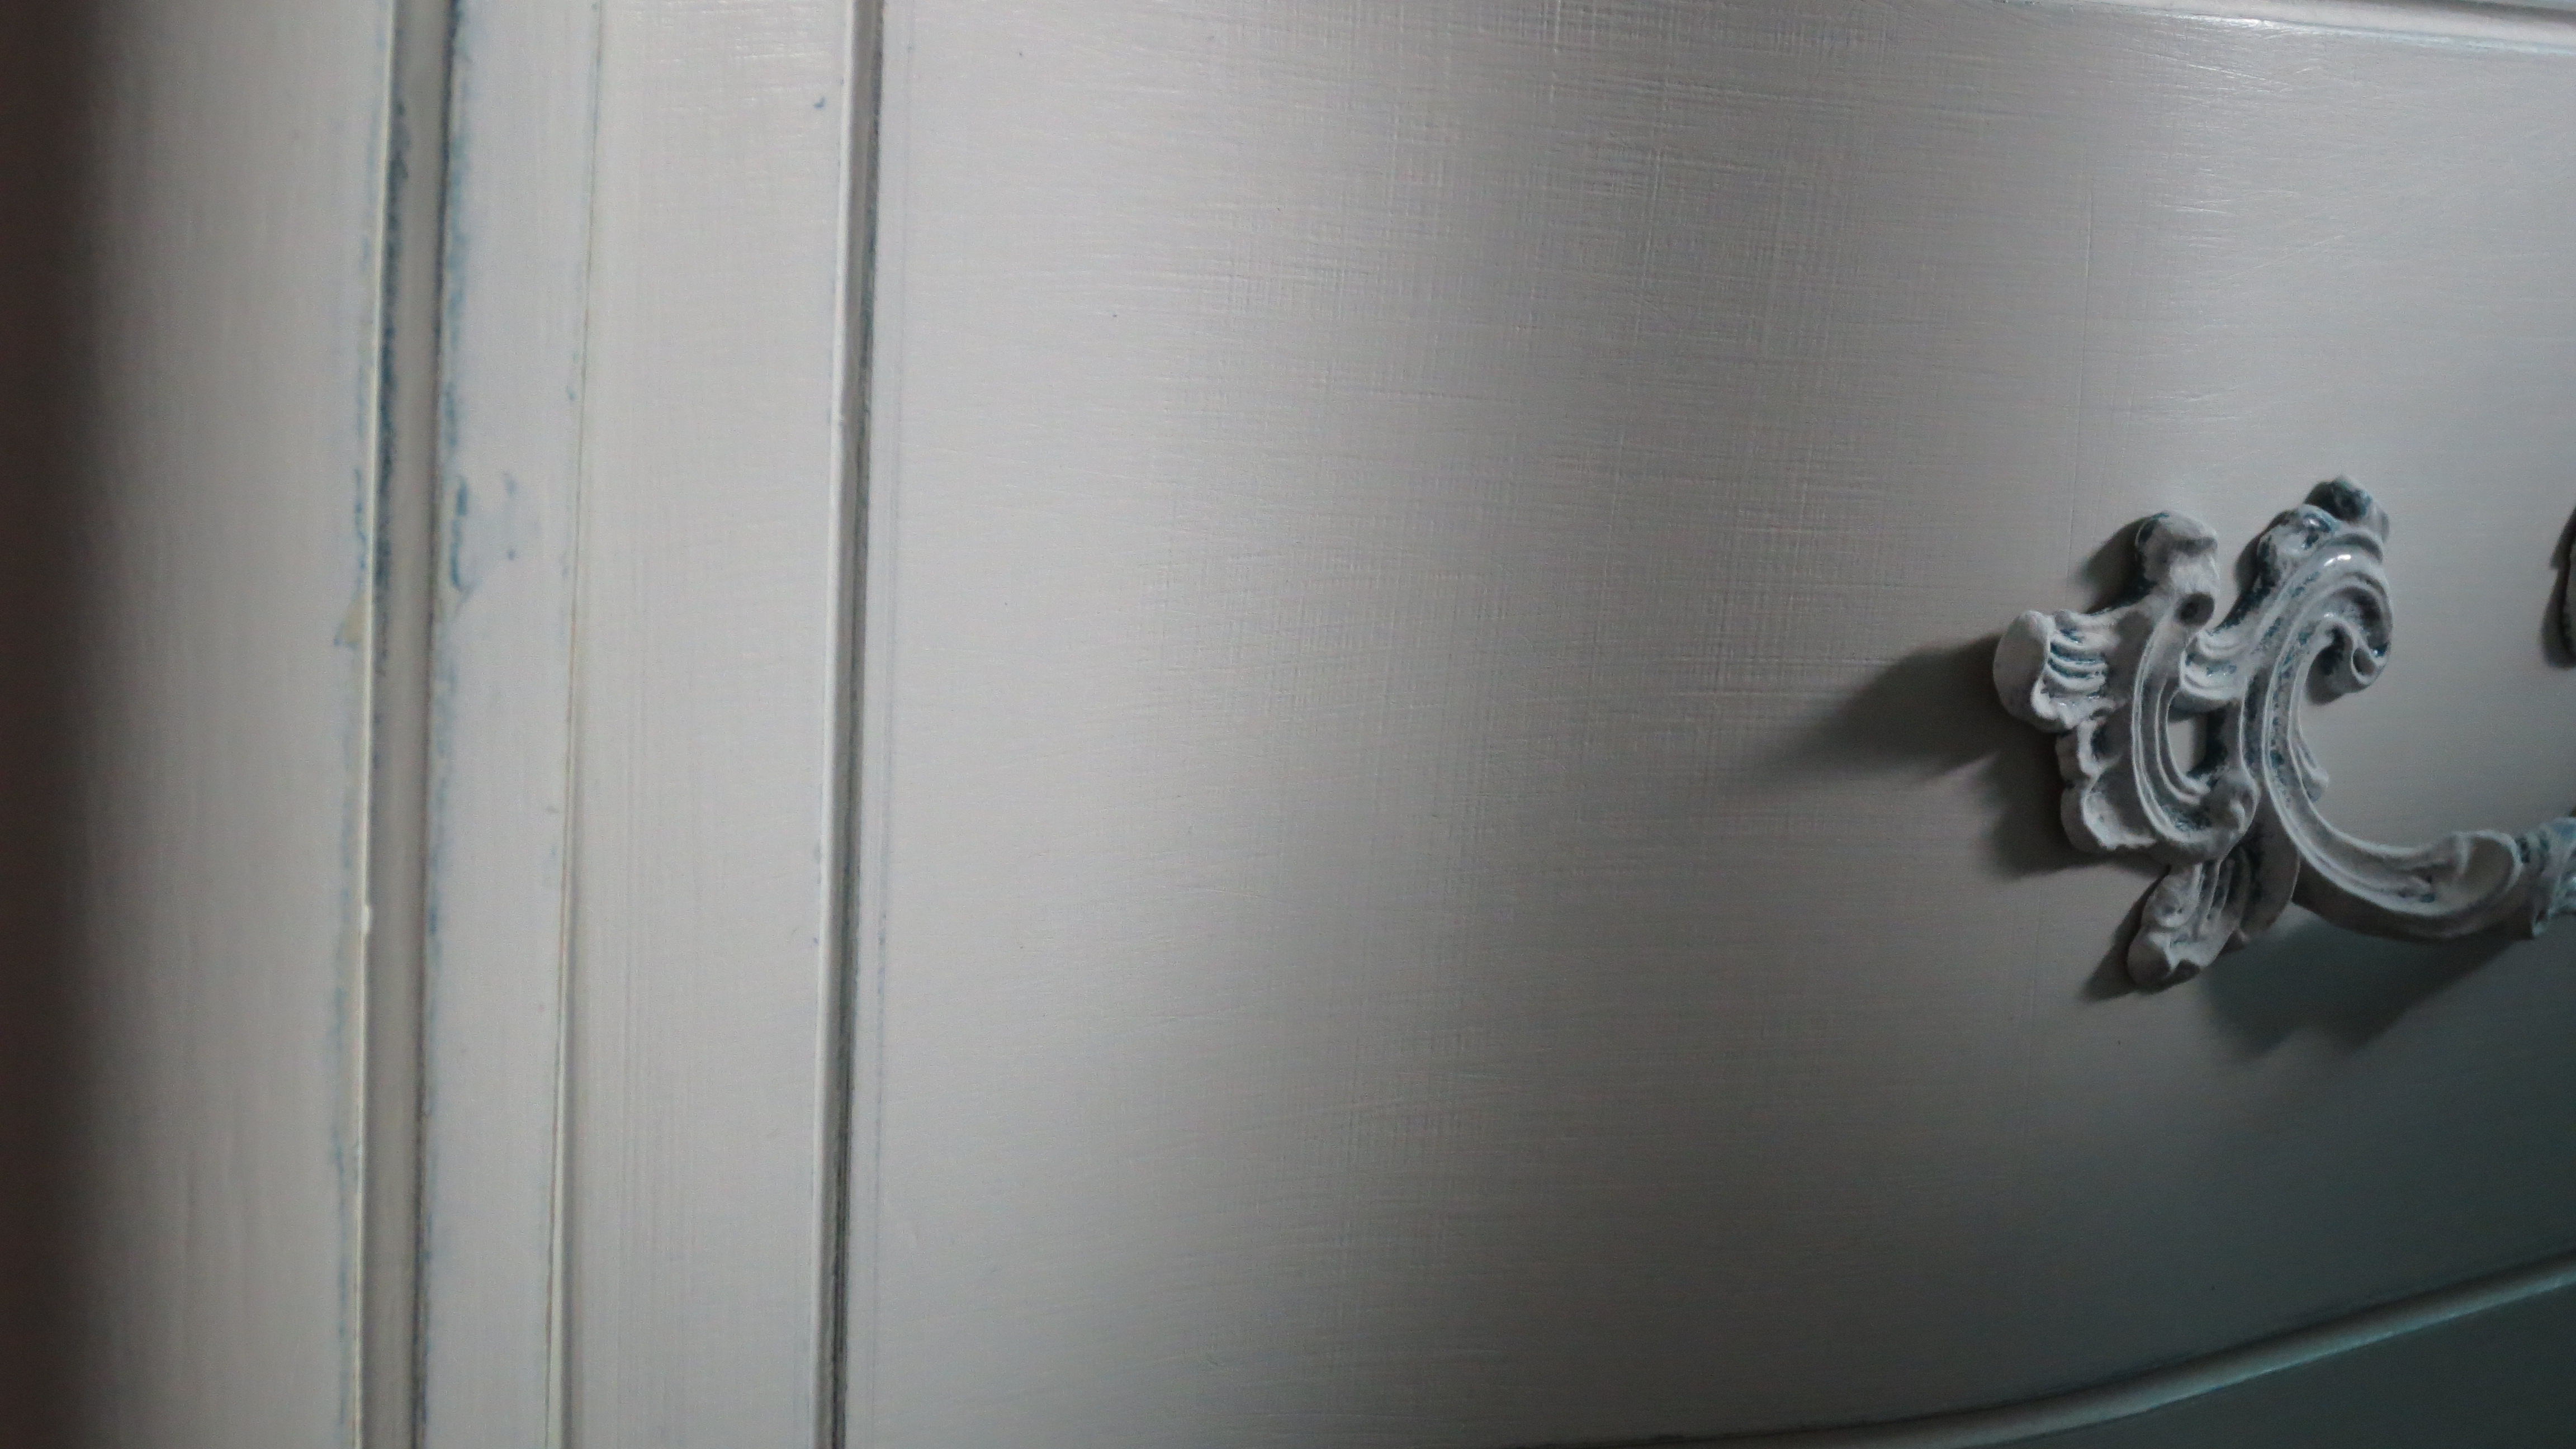
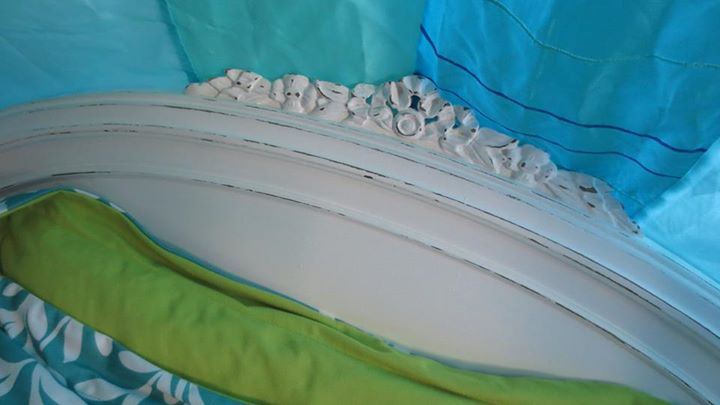
I ended up painting 3 coats of the chalkpaint, then started having fun with sandpaper to distress the edges:


Now comes the ‘hard’ part. Waxing it.
From what I researched, spending the extra bucks on Annie’s Soft Wax is worth it. If I wasn’t painting my furniture white, I could have used a Minwax soft wax, but that will cause yellowing over time.
There’s only a handful of stores in Oregon that sell Annie’s Soft Wax, fortunately one of those stores is in Hillsboro, and thankfully they were open that Saturday, so Trevor got some driving practice in and I paid the (gasp!) $28.00 and we were on our way.
Two coats rubbed in and buffed out and we were left with a shiny, soft looking, distressed gorgeous night stand!
Oh- and the handle! I painted it teal and blotted white over it for a distressed look as well. Sadly, I still haven’t found a match so they are still wonky looking.
Anyway- here she is…look at her gloss!

OH- the headboard!! Well, that’s an interesting story in itself. I was selling the girls’ bunkbed and a woman came over to check it out and saw this in our garage:

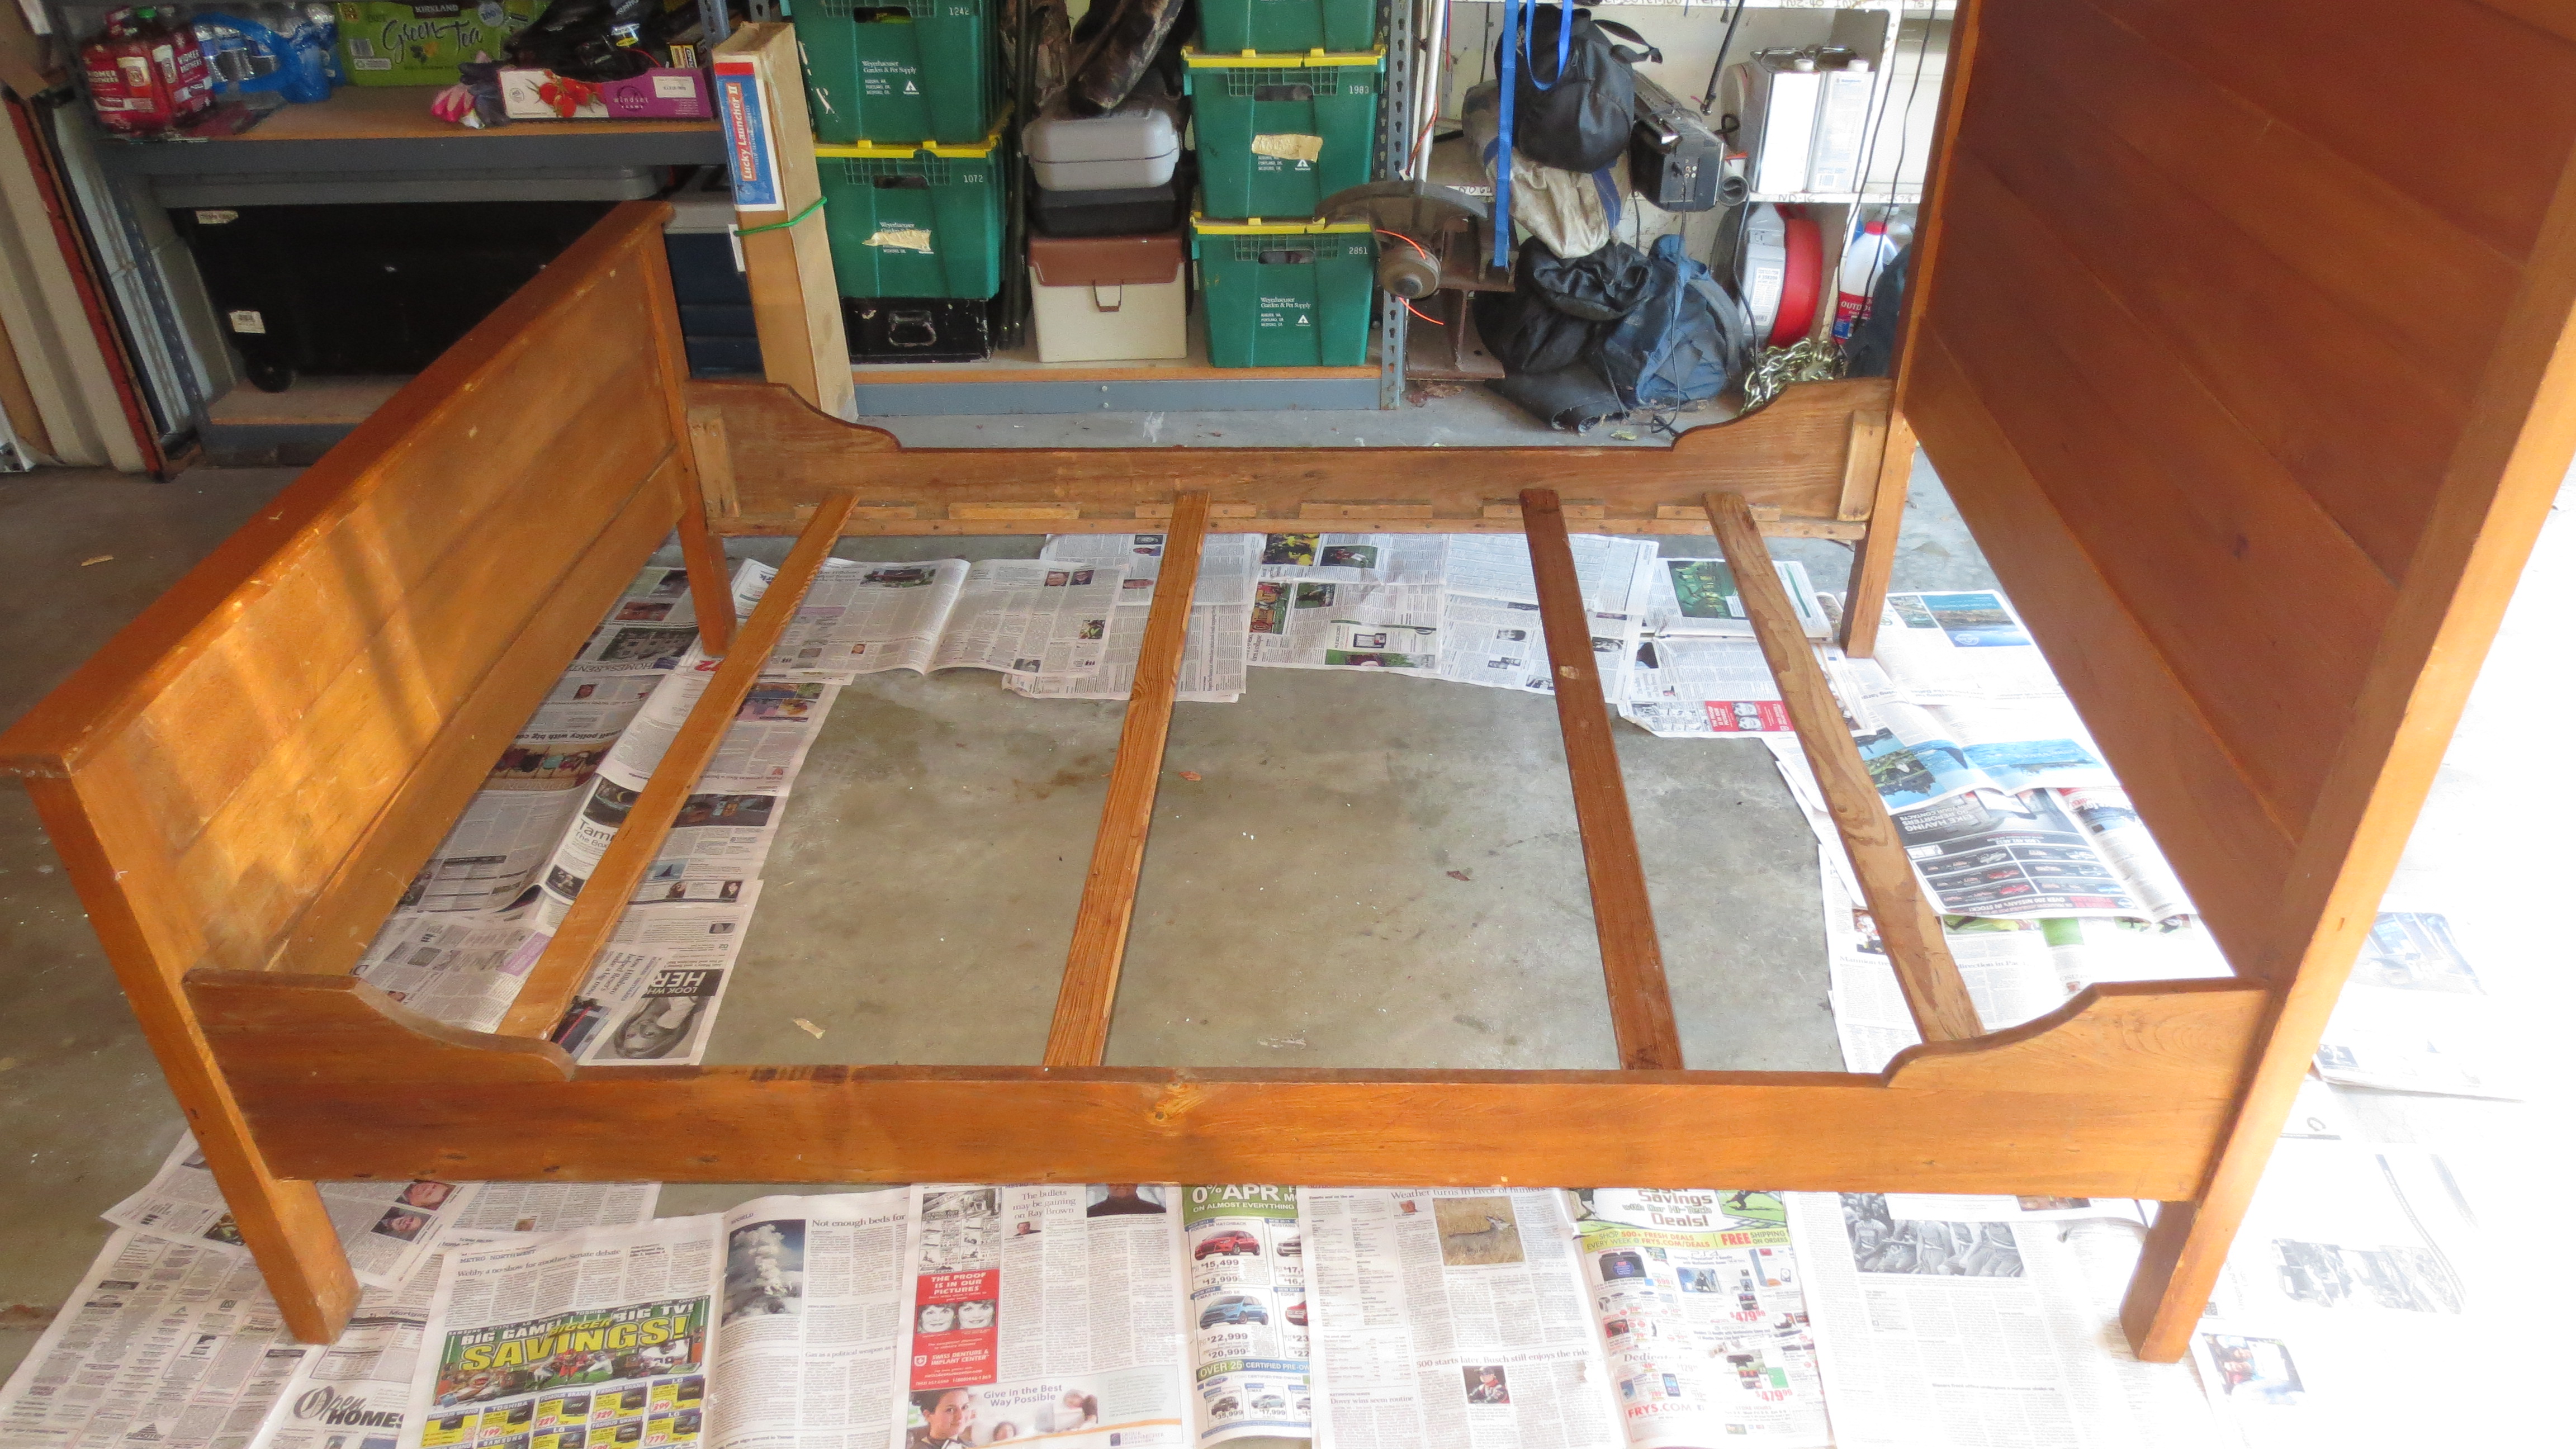
An antique oak full-size high-back bed frame that we picked up just an hour earlier. I had decided to apply the same process- BIN then chalkpaint then distressing (but without teal undertones).
She asked me about it and I told her my plan. She stopped me and said she had a twin size headboard that I might rather ‘distress’ instead. A much smaller project and I wouldn’t be “ruining” a potentially valuable piece of history. She ran home (they live just around the corner apparently!) and came back with that ugly green avocado and gold headboard. She said she’d sell it for $20.
Brooke initially said no way- but I told her I’d paint it white and make it pretty, so she was OK with it then. She really didn’t like the high back antique bed frame.
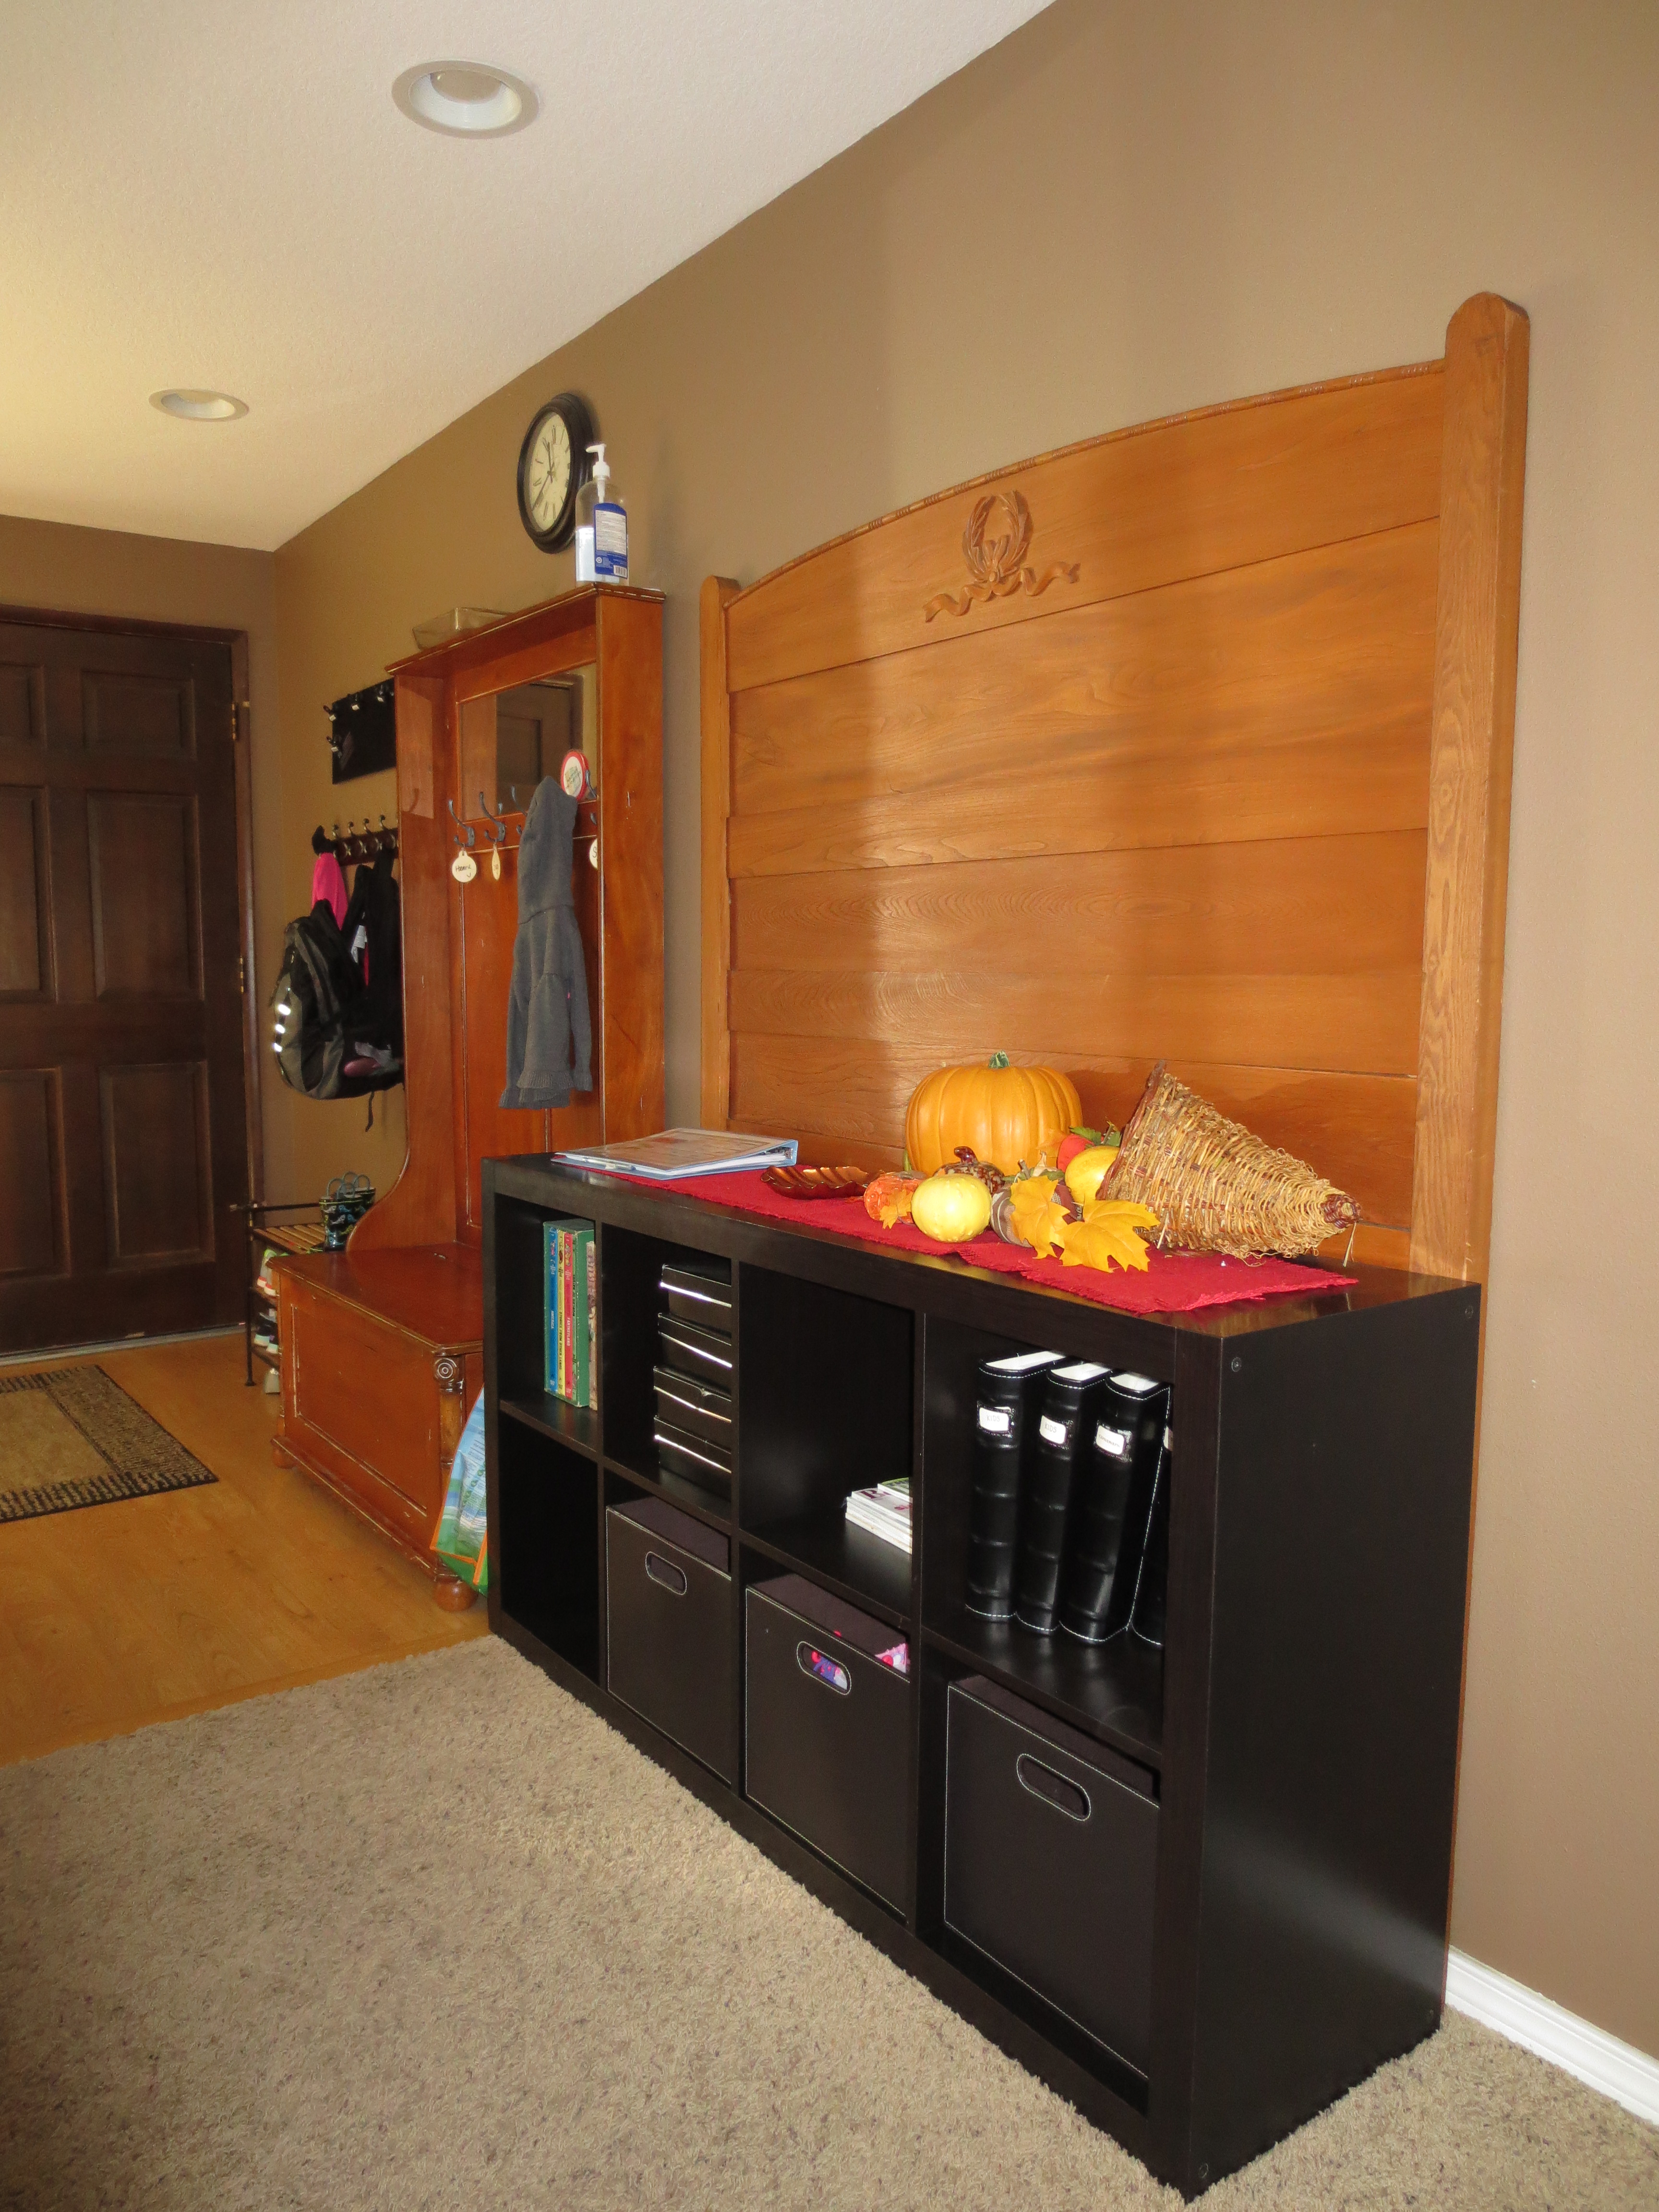
Side note- we still haven’t touched the antique bed frame. The headboard is now sitting as a backdrop in our front entry- getting lots of love there.
We don’t know what it’s future holds as of yet, but aren’t ready to part with it, nor are we ready to destroy it with paint. Stay tuned.
This project was done in about 24 hours total. Same method- one coat of BIN primer, two coats of DIY Chalkpaint, distressing with sandpaper, and two coats of wax:

I am so so so so happy with how both pieces turned out!
UPDATE: Brooke ended up graduating to a queen size bed, which meant we no longer needed the headboard. I managed to sell it for $50! Kind of miss it, I really loved it, but someone else is enjoying it now and that makes me feel good. She still has the nightstand, and we picked up a similar style desk at a garage sale that needs some refurbishing, so I’ll tackle that this summer and post before and afters.
