
Remember when we got the brilliant idea to redo our main bathroom flooring with laminate wood flooring, fully knowing that it wasn’t designed for bathroom use?
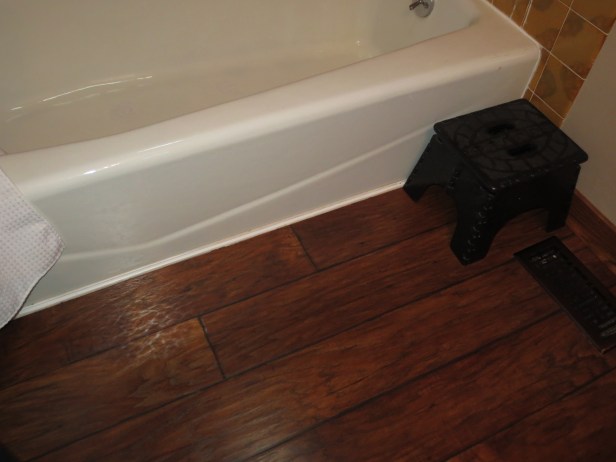
And then this happened a couple years later?

Mostly due to poor placement of a seam next to a tub. Kid took a shower and didn’t wipe up the water and the seam just exploded. Ugh.
We’ve had it in our mind for years to someday replace the wood with that new fancy wood-looking tile. And for some reason, as we were replacing the flooring in the playroom and found ourselves with a delay while we wait for a transition piece to arrive via mail…. it would be a great time to redo the bathroom floor, too!
Actually, it was more like Jim had one last week off work, the kids were in school, so now would be a great time to tear up the bathroom. Family of 5, one working toilet, challenging.
Tuesday March 15th. I head into work for the day. Jim plans to take out the toilet, the laminate flooring, the vinyl flooring, the underlayment and most likely also the bathroom cabinet. I get a text at 3:20pm…..”we have some shopping to do. BTW if we want to change the bathroom cabinet, now is the time to do it.”
Hmmm…. wasn’t in my original plan, but hey, if hubs is up for a new bathroom vanity, let’s DO IT!
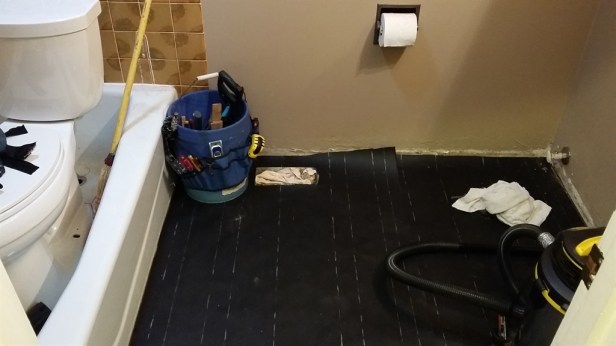
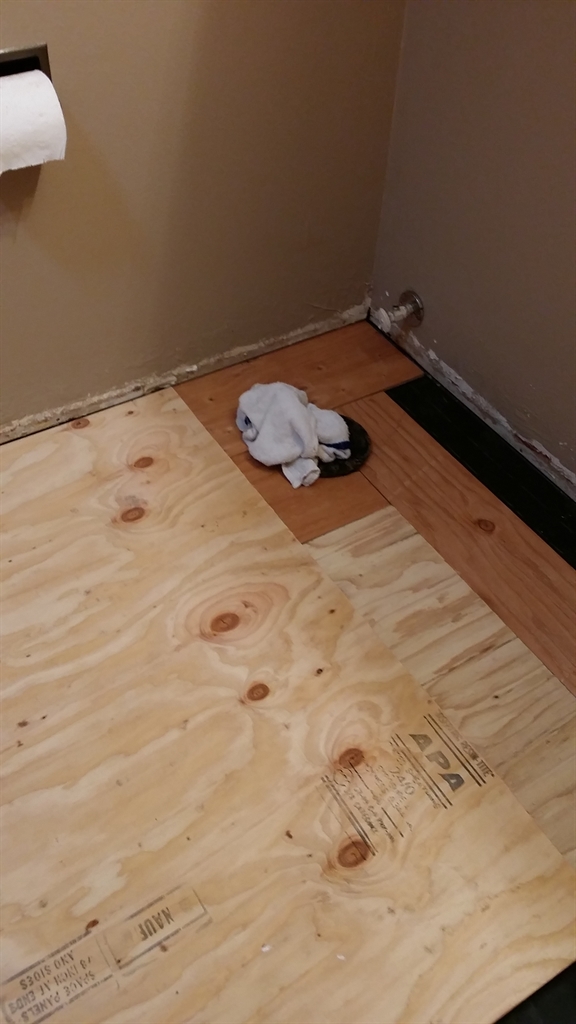
I come home and yep, he’s taking ALL of the flooring out, down to the tongue-and-groove 2×6 decking! Covered that up with a fresh layer of barrier. Time to shop for new underlayment and tile!
We went to Home Depot and Lowe’s- looked at various ‘wood’ tiles and different bathroom vanities and ended up going between the 2 stores a few times before settling on what we thought would work well together.
The tile flooring was much darker than we intended it to be, and with the dark cabinet I was a little worried how it would look. So we did a mock set-up:
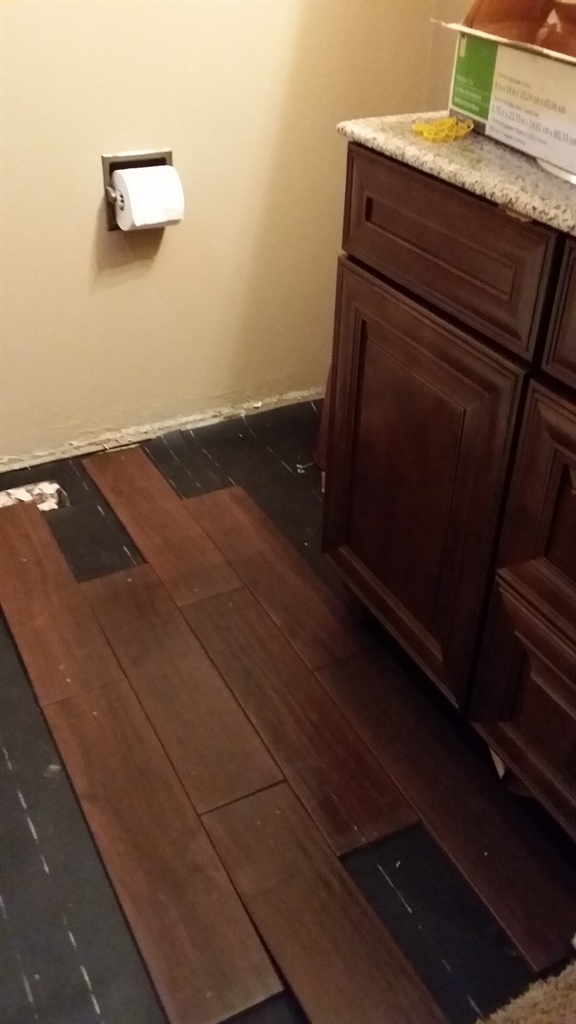
Yeah, it’s a lot darker, but I think it’ll be OK.
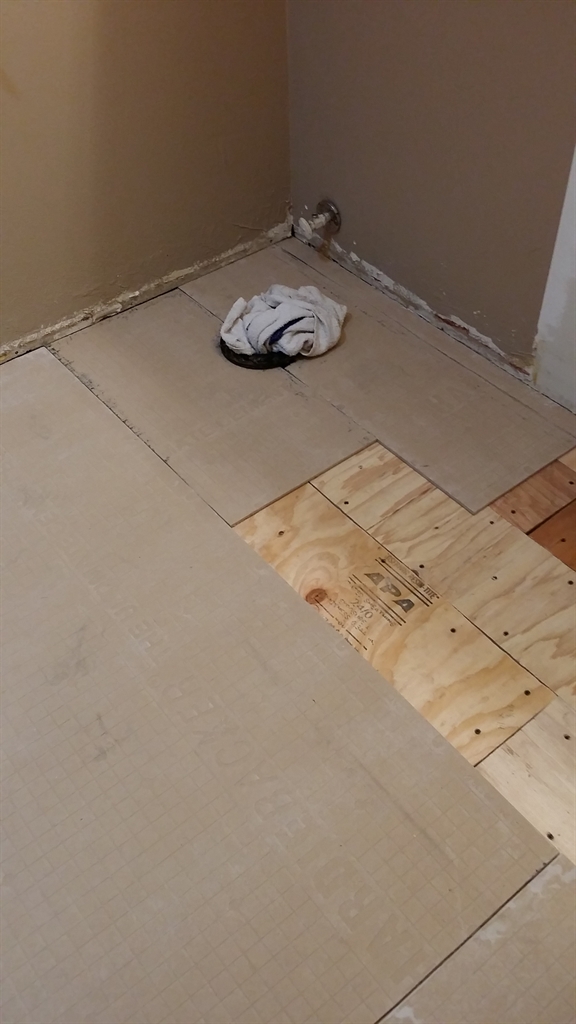
It’s Wednesday morning….I stayed home from work….again. The flexibility of this job- I love it! Anyway, we start by installing the plywood underlayment. The tough part is getting under the toilet flange, tight, with as few cuts as possible.
After all the plywood was down, it was time to do the same for the concrete backerboard, but making sure the seams don’t line up with the plywood seams, they need to overlap:
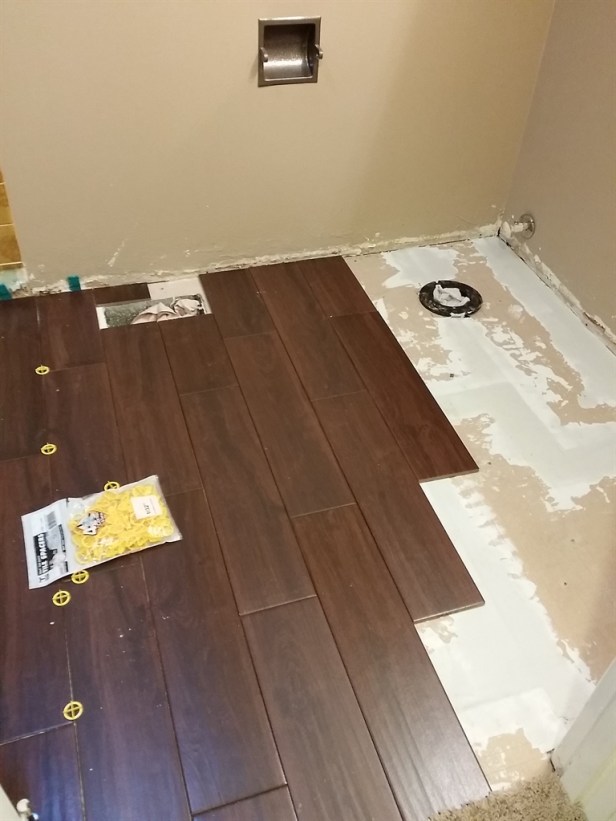
After all the hardibacker was cut to size, we needed to thinset it to the plywood- so that was lifting, mortaring, laying, screwing to the floor, taping the seams, mortaring over the seams, letting it all dry (or mostly dry- lol!) and then start determining tile placement….
After all the tiles were cut and in place, I numbered them….
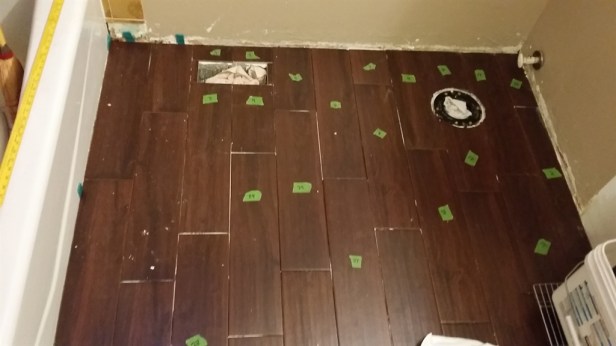
Numbered according to how I’d be installing them, complete with a hand-drawn map (AND a photograph) in case I forgot!
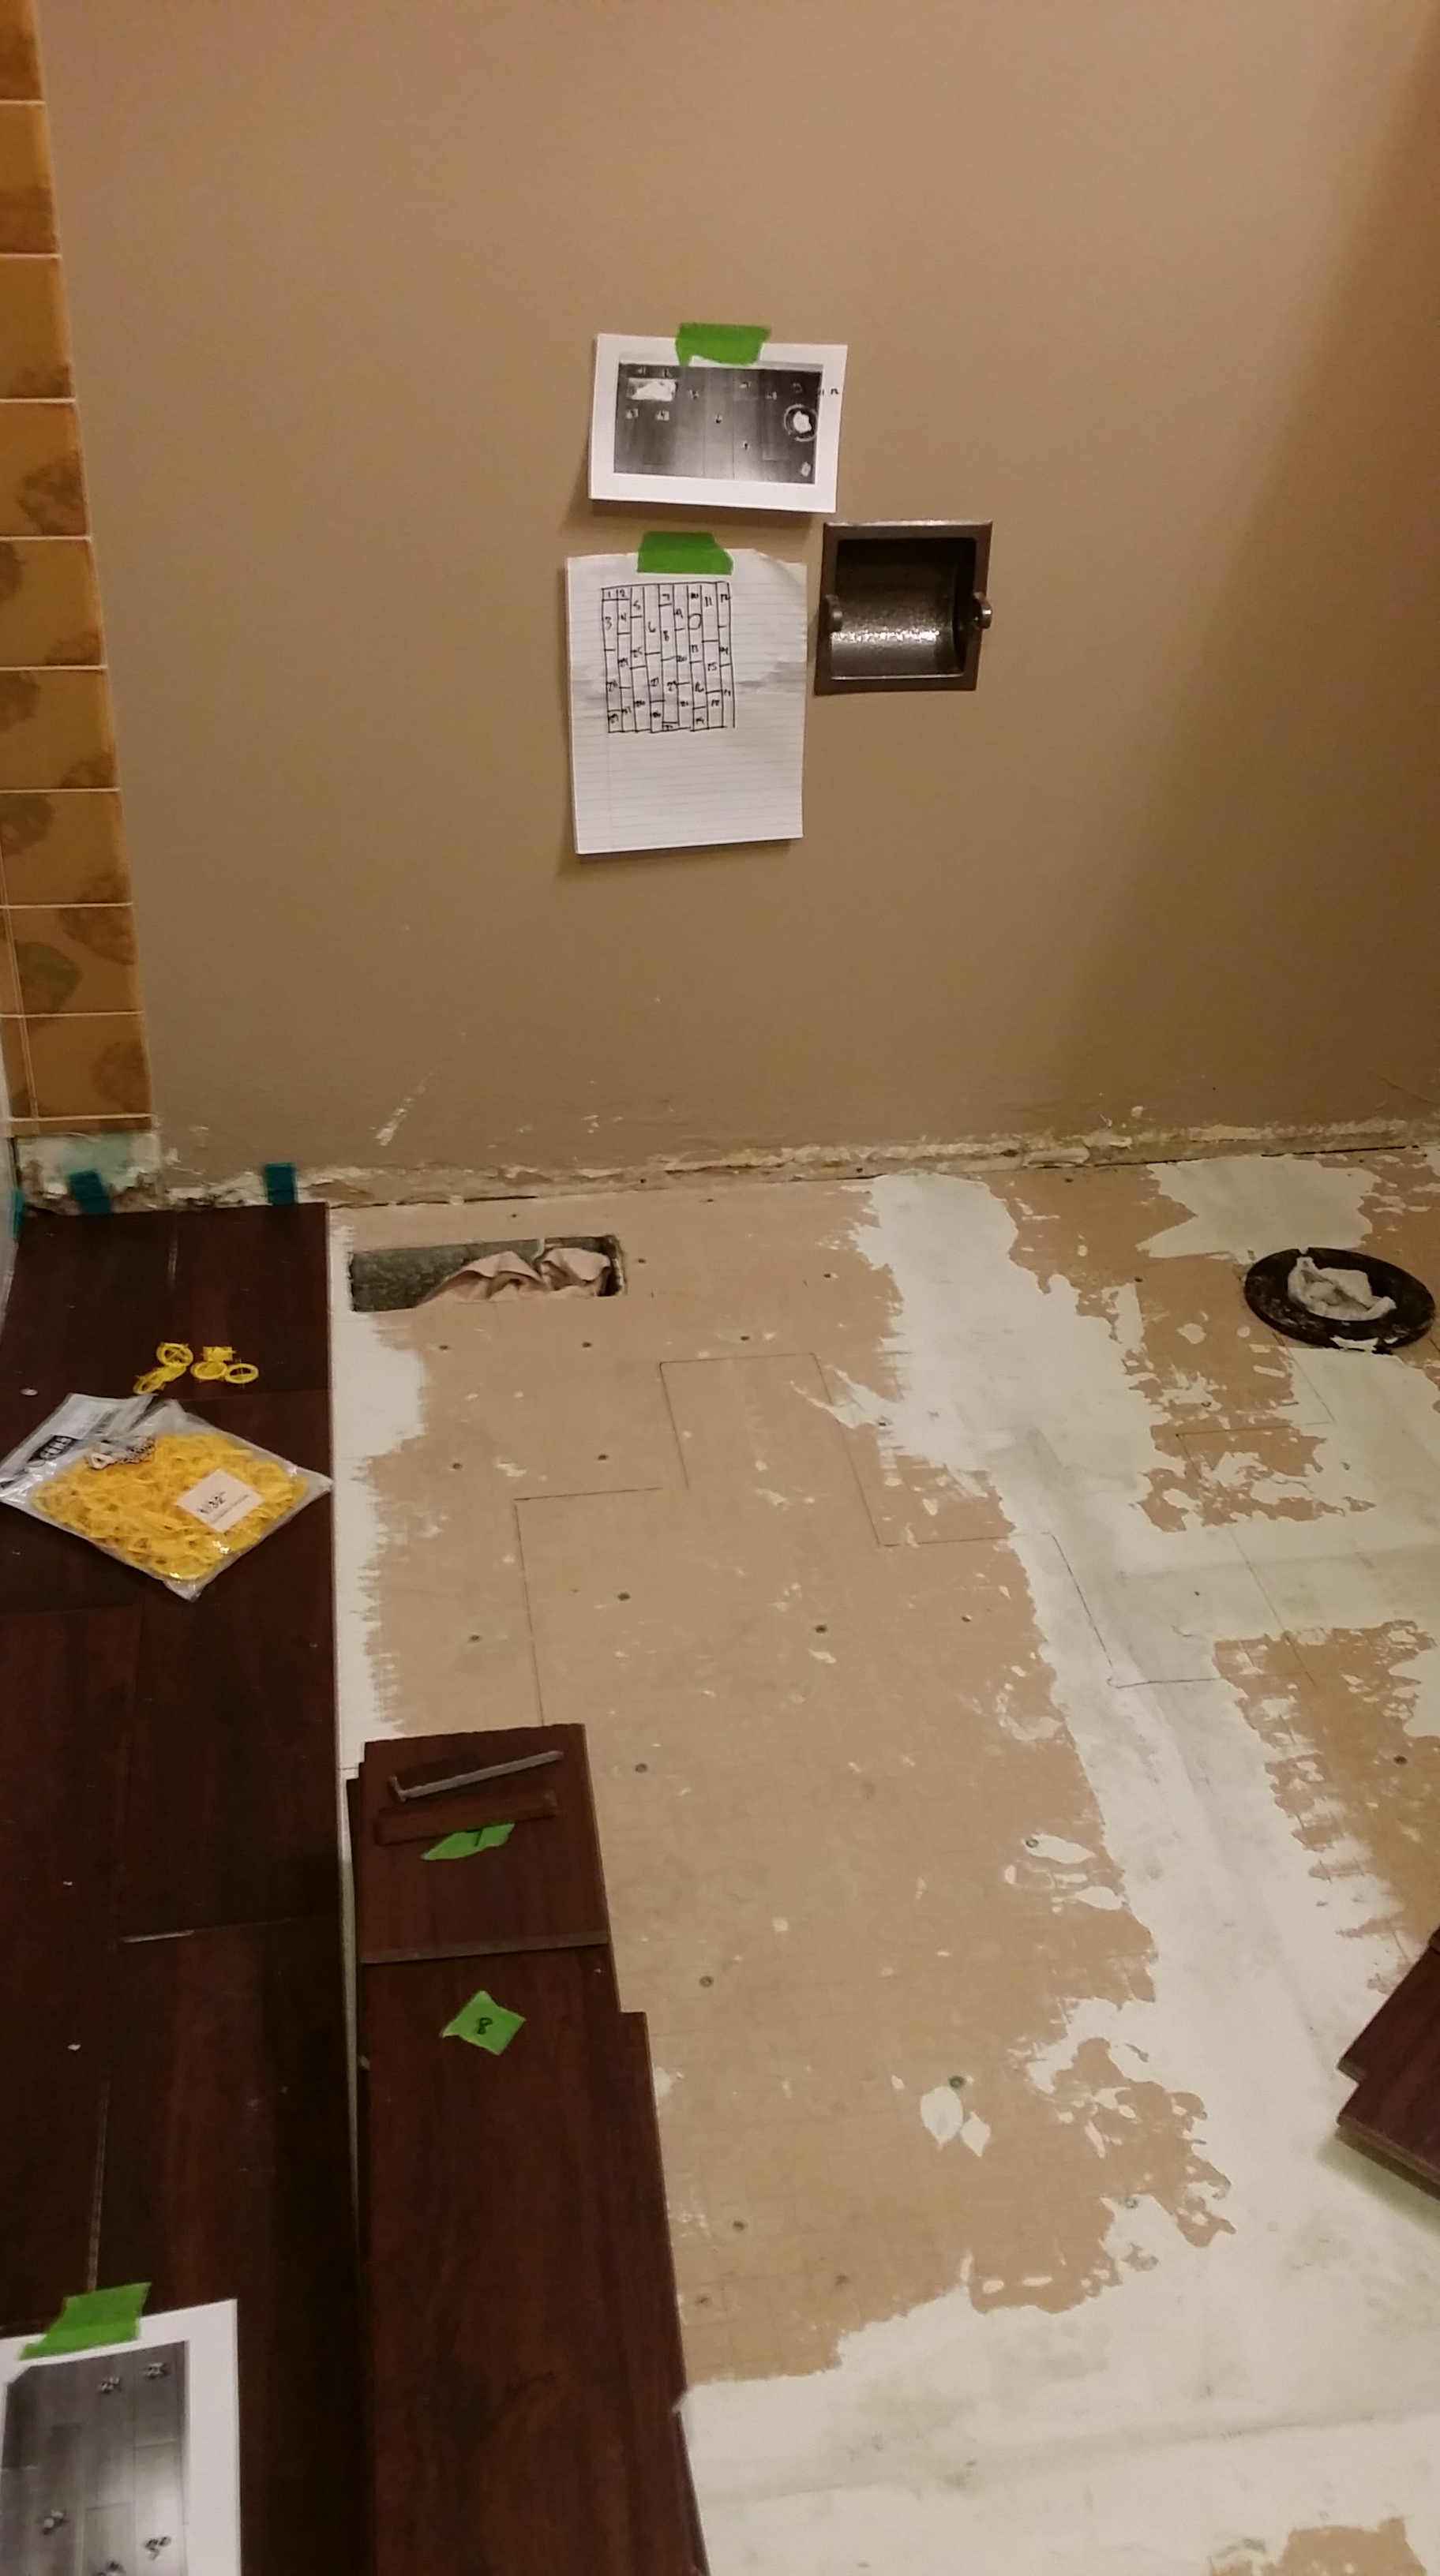
All the tiles were stacked in order and I began applying the mortar and lay each one in place….
I waited the minimum 24-hours (so Thursday evening) I did some fine-tuning of the mortar (ensuring it wouldn’t interfere with the grout- making sure it was low enough). Made sure my tiles were sparkling clean, then headed off to work. I didn’t want to grout too early!
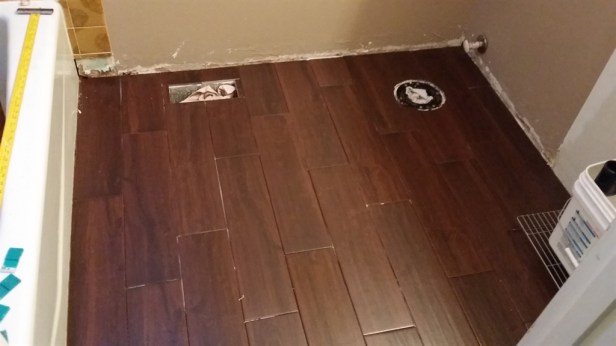
Friday late-morning I mixed my ‘chocolate’ grout and started grouting the tiles. I really enjoy grouting….

Later that night I thought a couple spots looked a little low, or dark, but figured I’d wait until the next morning to make sure. And sure enough, Saturday morning it looked the same. Oops. It might not have been obvious to others, but it was obvious to me.
I read that grout is still somewhat ‘flexible’ to work with if you are within 18-24 hours of application, which I was, so I followed the instructions of wetting the grout in the areas that needed repair, mixing a small amount of grout, and re-grouting the low spots with additional grout, following the same process as before (stuffing the gaps, wiping at a 45-degree angle, letting that sit until it films over, then wiping with a damp cloth).
Before I did that, though, I caulked the perimeter of the room, except the tub side because I special ordered caulk to match the grout. That won’t arrive for another week or two.
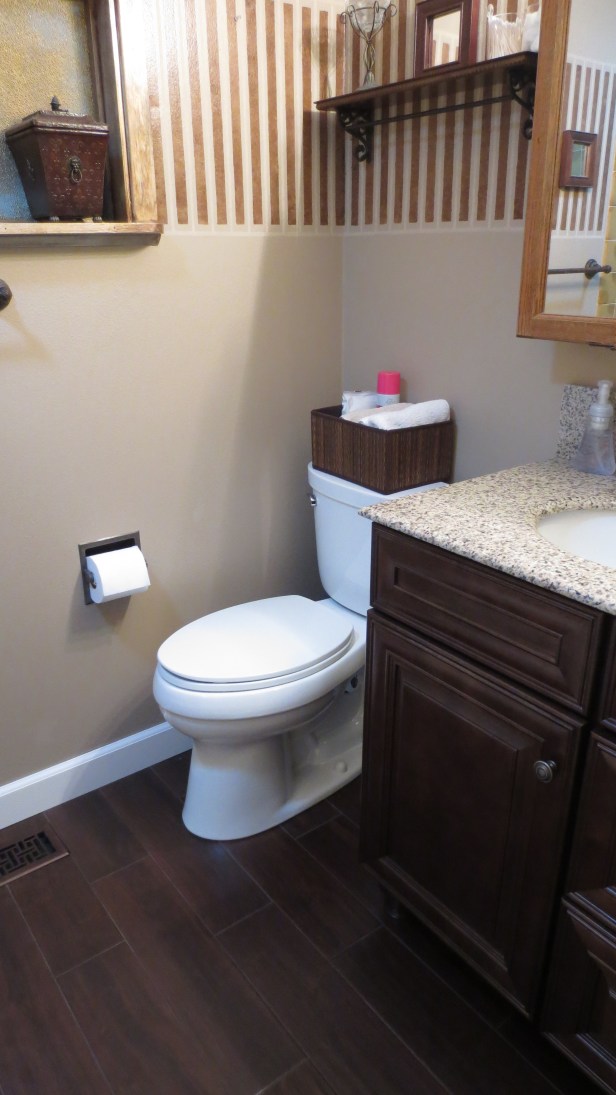
Sunday afternoon Jim got the toilet re-installed and the new bathroom cabinet installed. I love it!
We still need to put the wall trim up and caulk around the tub.
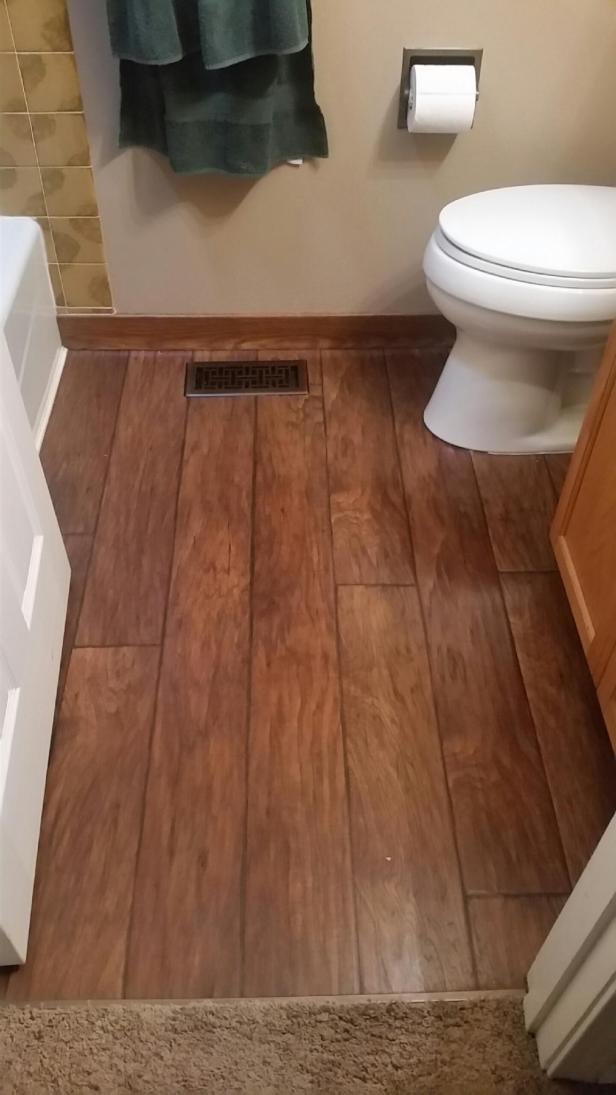
So here’s the BEFORE- using actual wood floor:
And the AFTER (using tile!):
Some day- long time down the road- we’ll do something about the hideous shower tile. For now our bathroom coloring “works”.
Shorter term is doing something about the backsplash and medicine cabinet! The new vanity is quite a bit taller than the old, lessening the clearance between the counter top and the bottom of the medicine cabinet (not to mention how ugly the cabinet is- doesn’t match anything!). Stay tuned for that….
